
Research
2024 Best Practices for Cloud Network Firewall Deployment
The security industry is working towards a secure by default configuration. However, when setting up products for the 2024 Cloud Network Firewall group test, we found that not all products are secure by default. We, therefore, documented the changes we made and are publishing them in this guide.
Last year, the Cybersecurity & Infrastructure Security Agency (CISA), along with ten U.S. and international partners, published guidelines for their "Secure by Design, Secure by Default" principle. In their April 2023 publication, they stated the following:
“Secure-by-Default” means products are resilient against prevalent exploitation techniques out of the box without additional charge. These products protect against the most prevalent threats and vulnerabilities without end-users having to take additional steps to secure them. Secure-by-Default products are designed to make customers acutely aware that when they deviate from safe defaults, they are increasing the likelihood of compromise unless they implement additional compensating controls.
This guide should be used as a supplement to what the vendors already make available to their customers. Please see the links below to the best practices and guides for each product we tested. We have also provided additional information for three products: Cisco Secure Firewall Threat Defense Virtual, Palo Alto Networks VM-Series, and Amazon Web Services (AWS) Network Firewall.
Cloud Network Firewall Test Topology
The following steps were taken for each firewall:
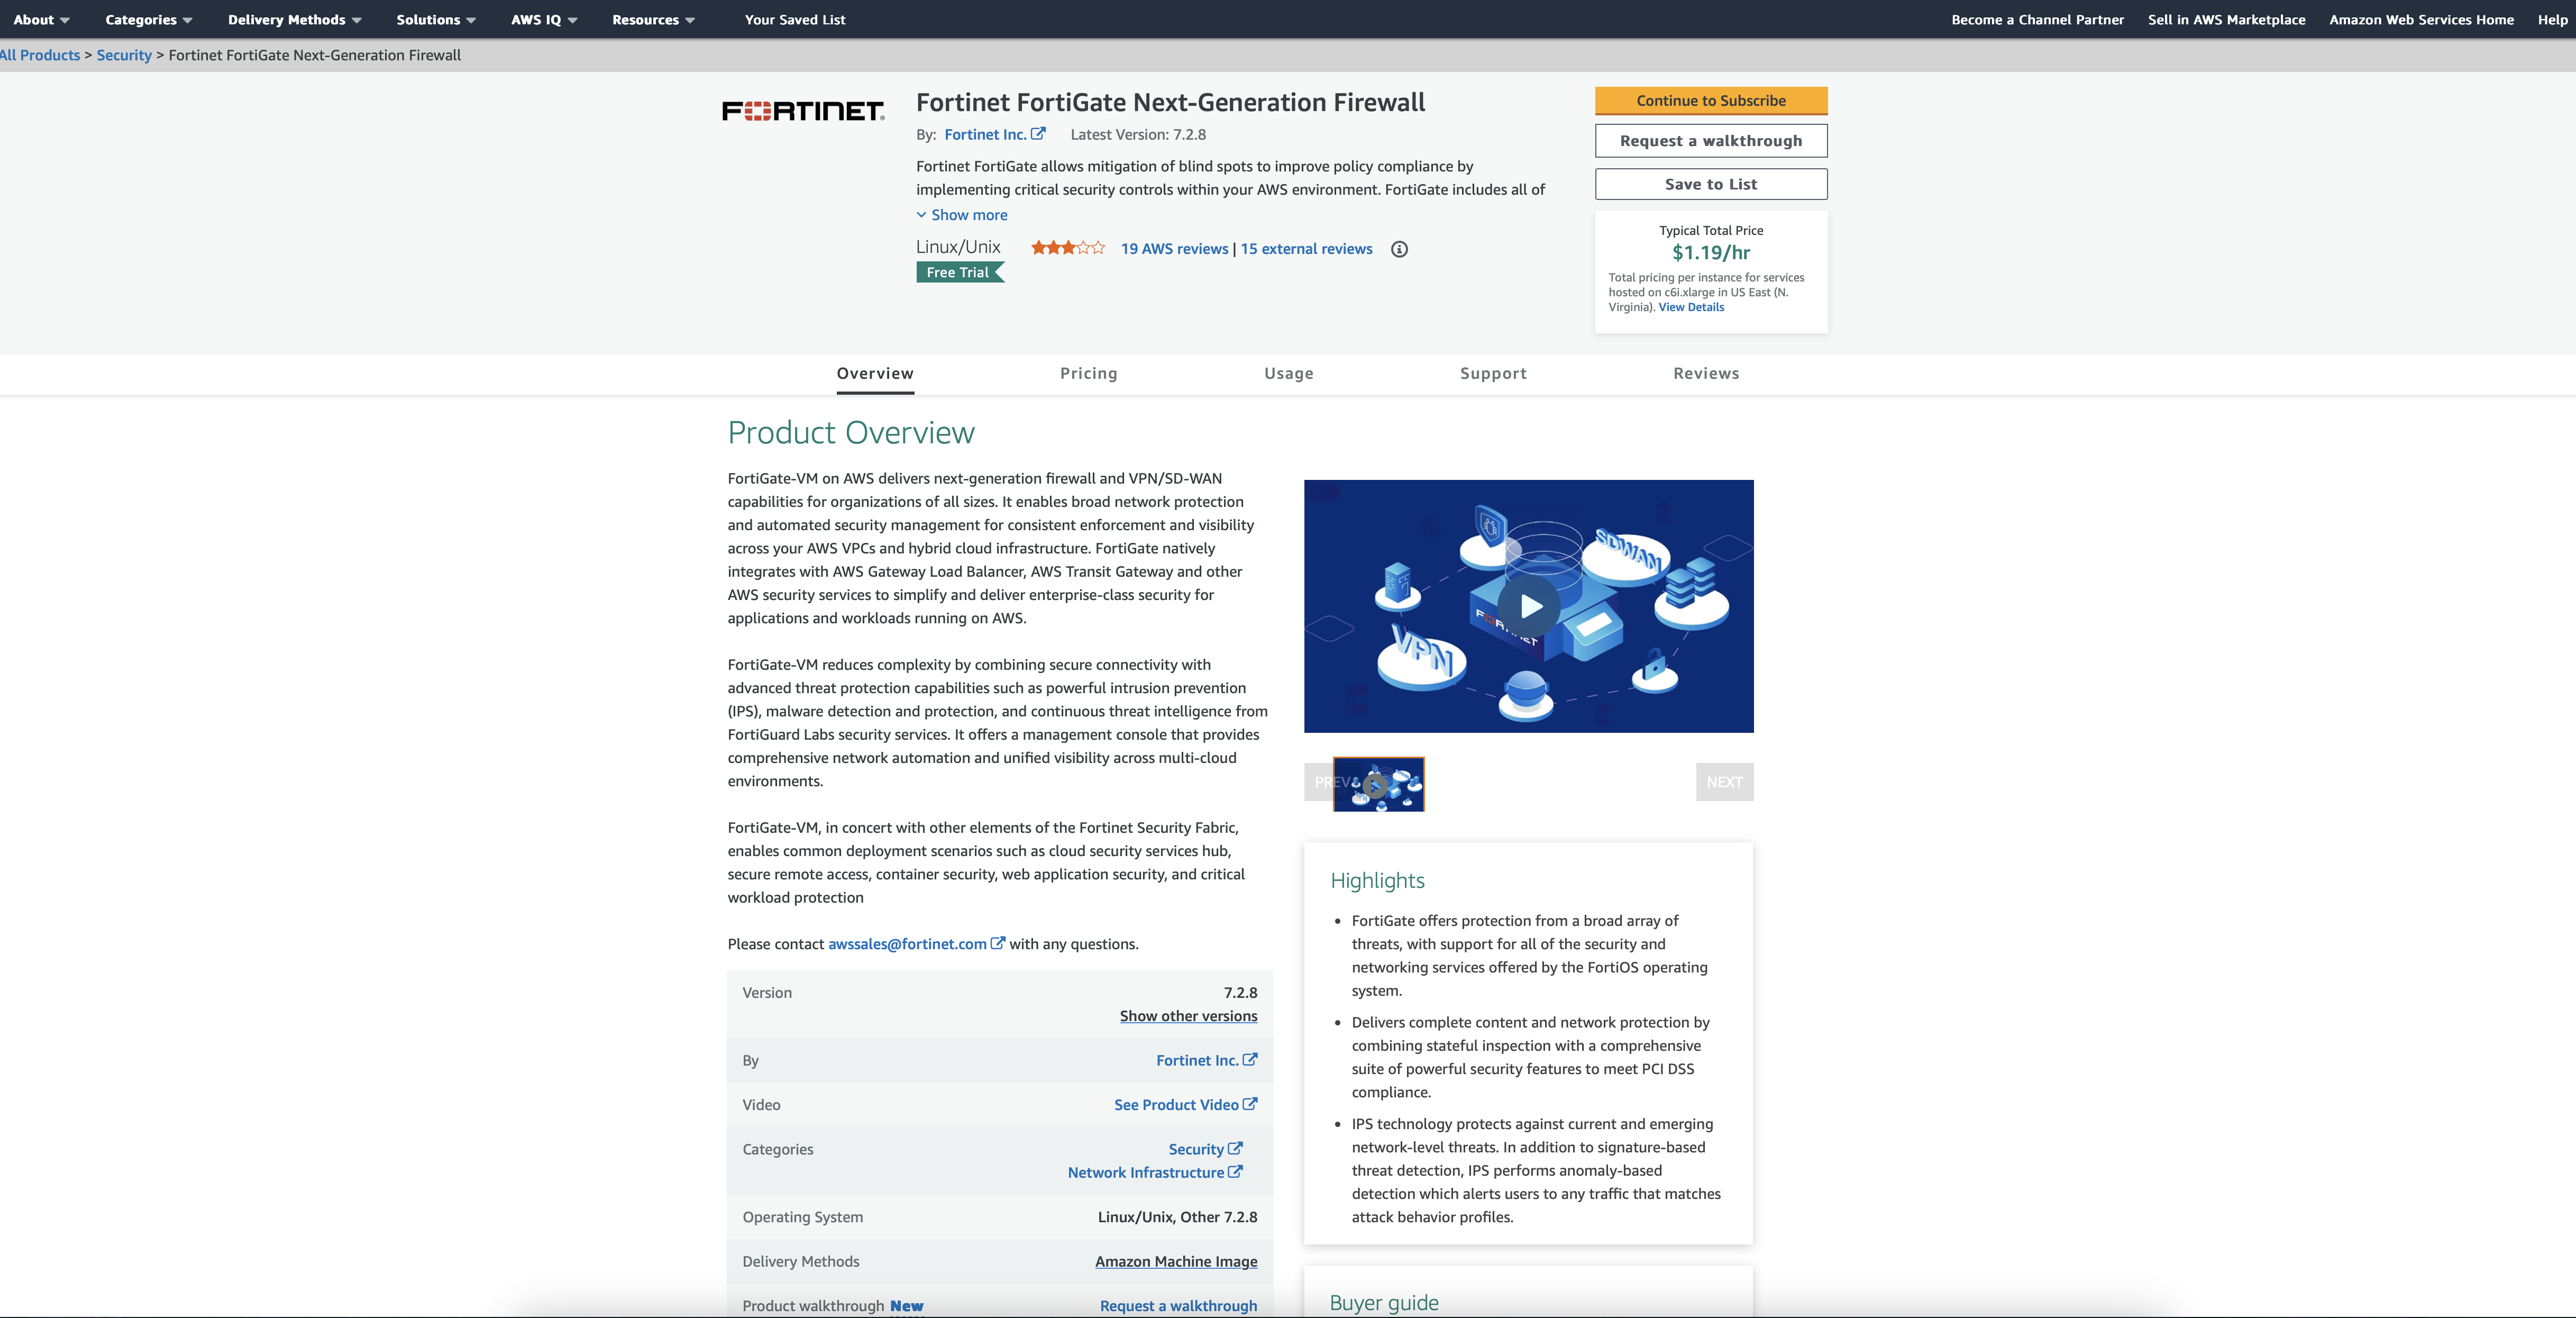
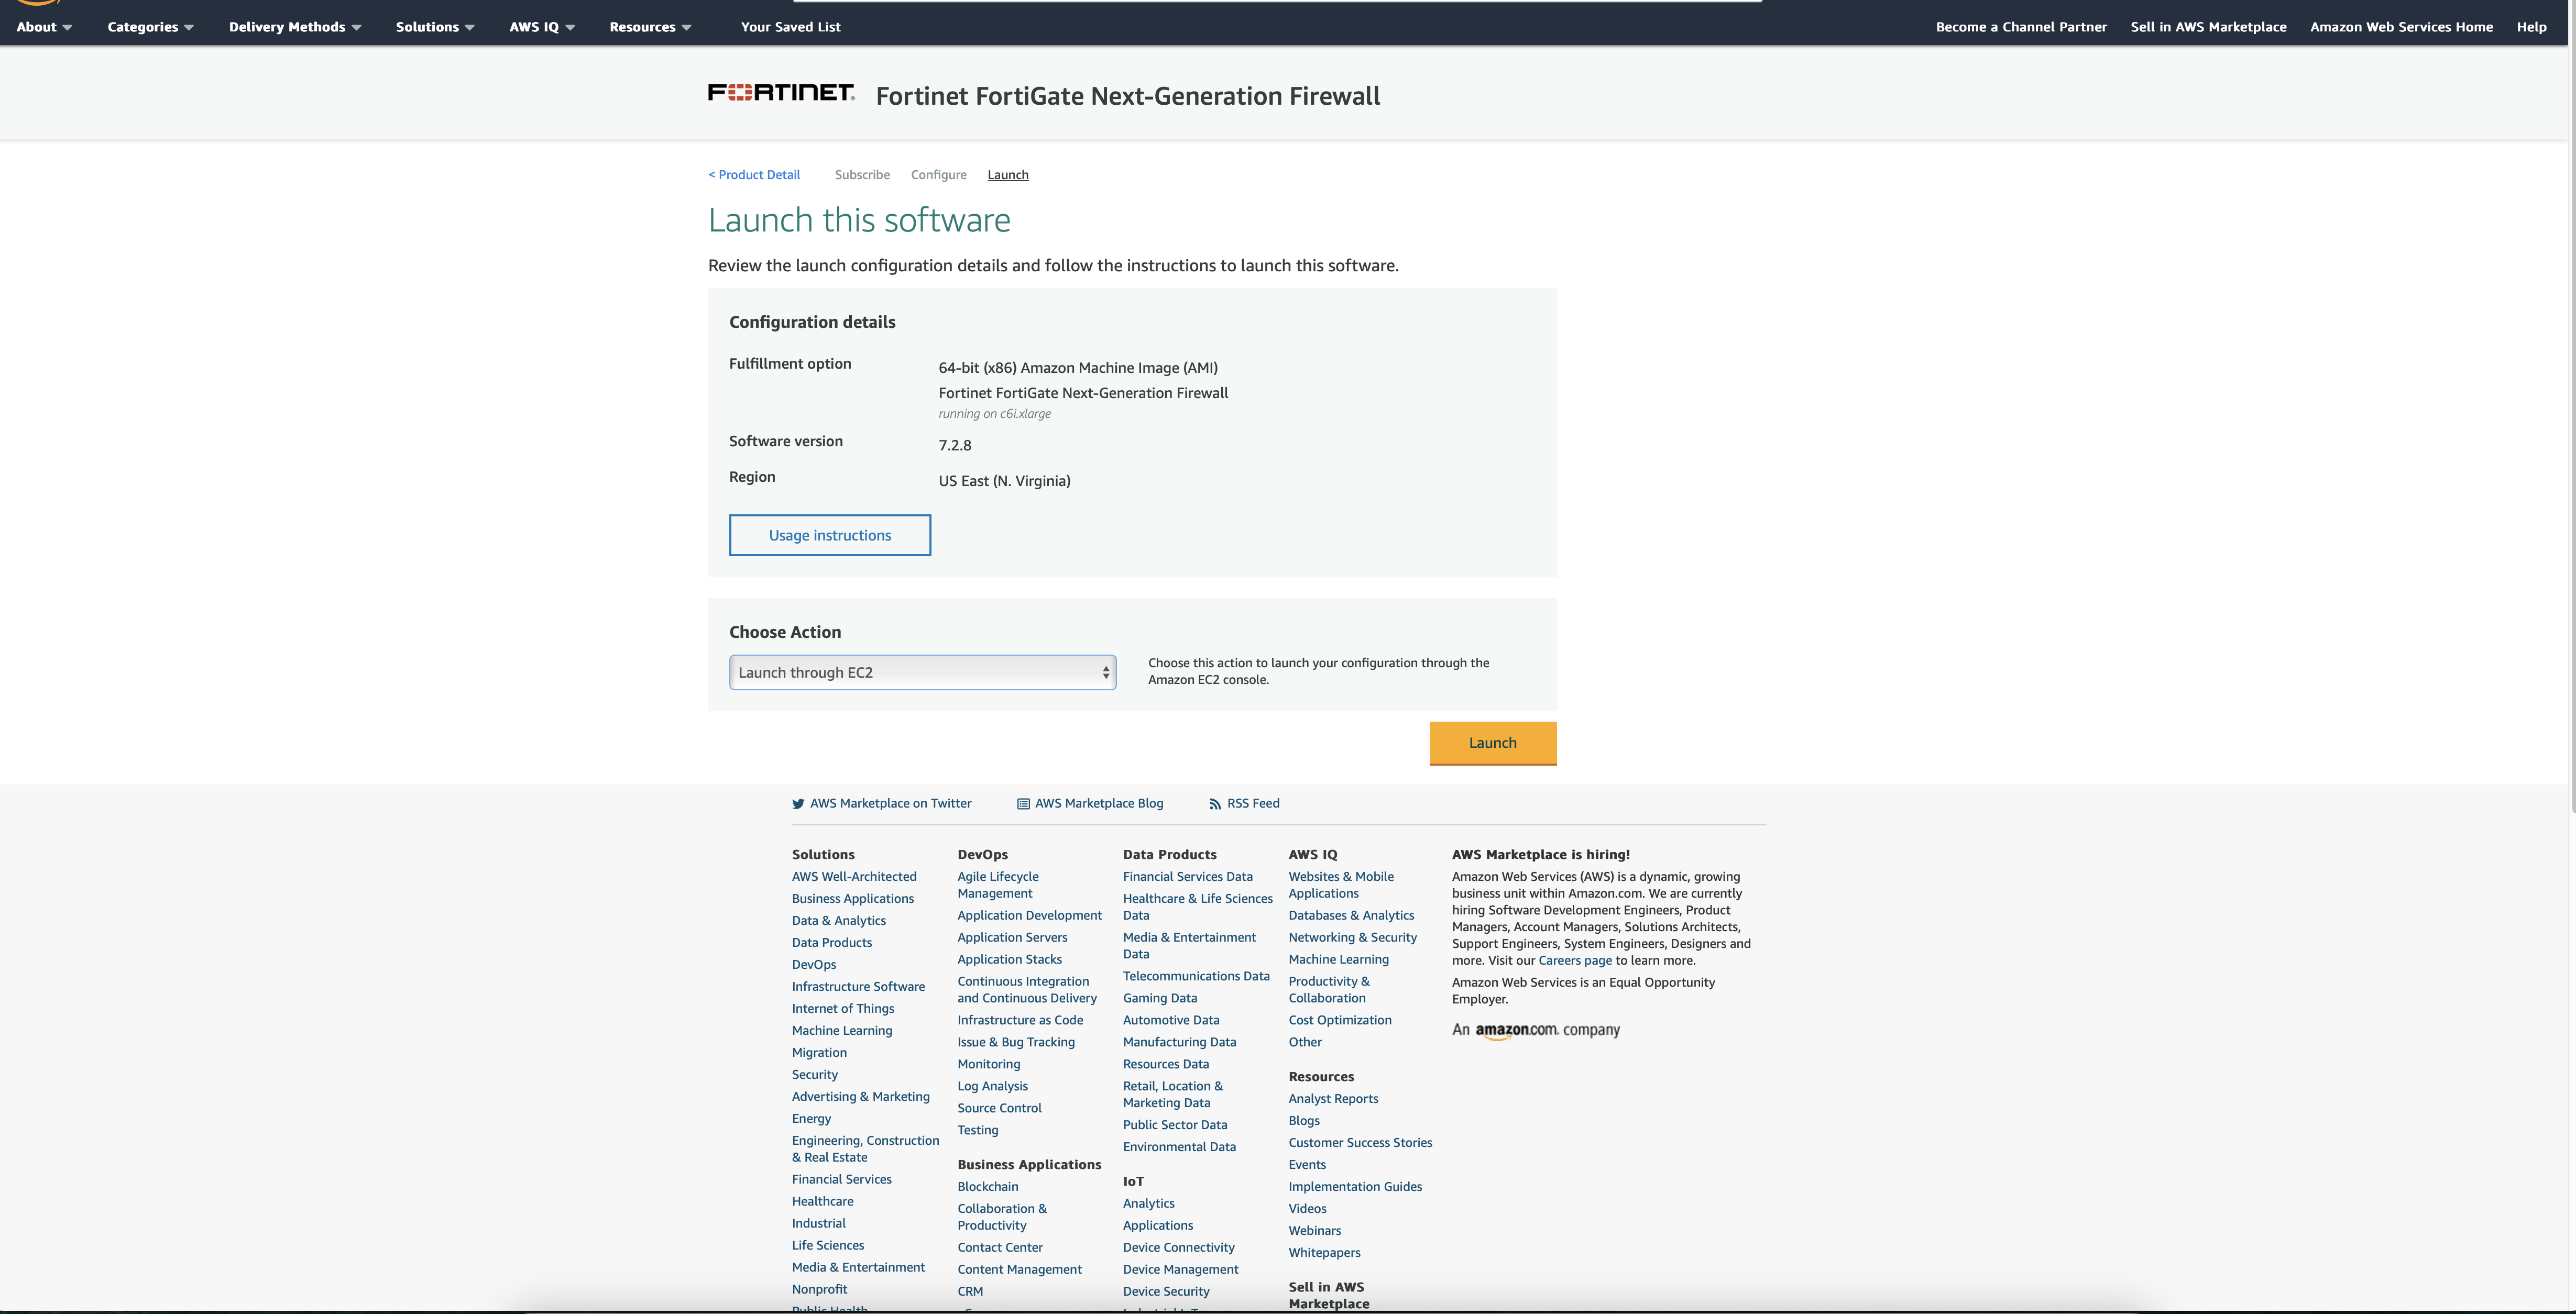
- Deploy the firewall in Amazon Web Services (AWS). For this example, we are using Fortinet:
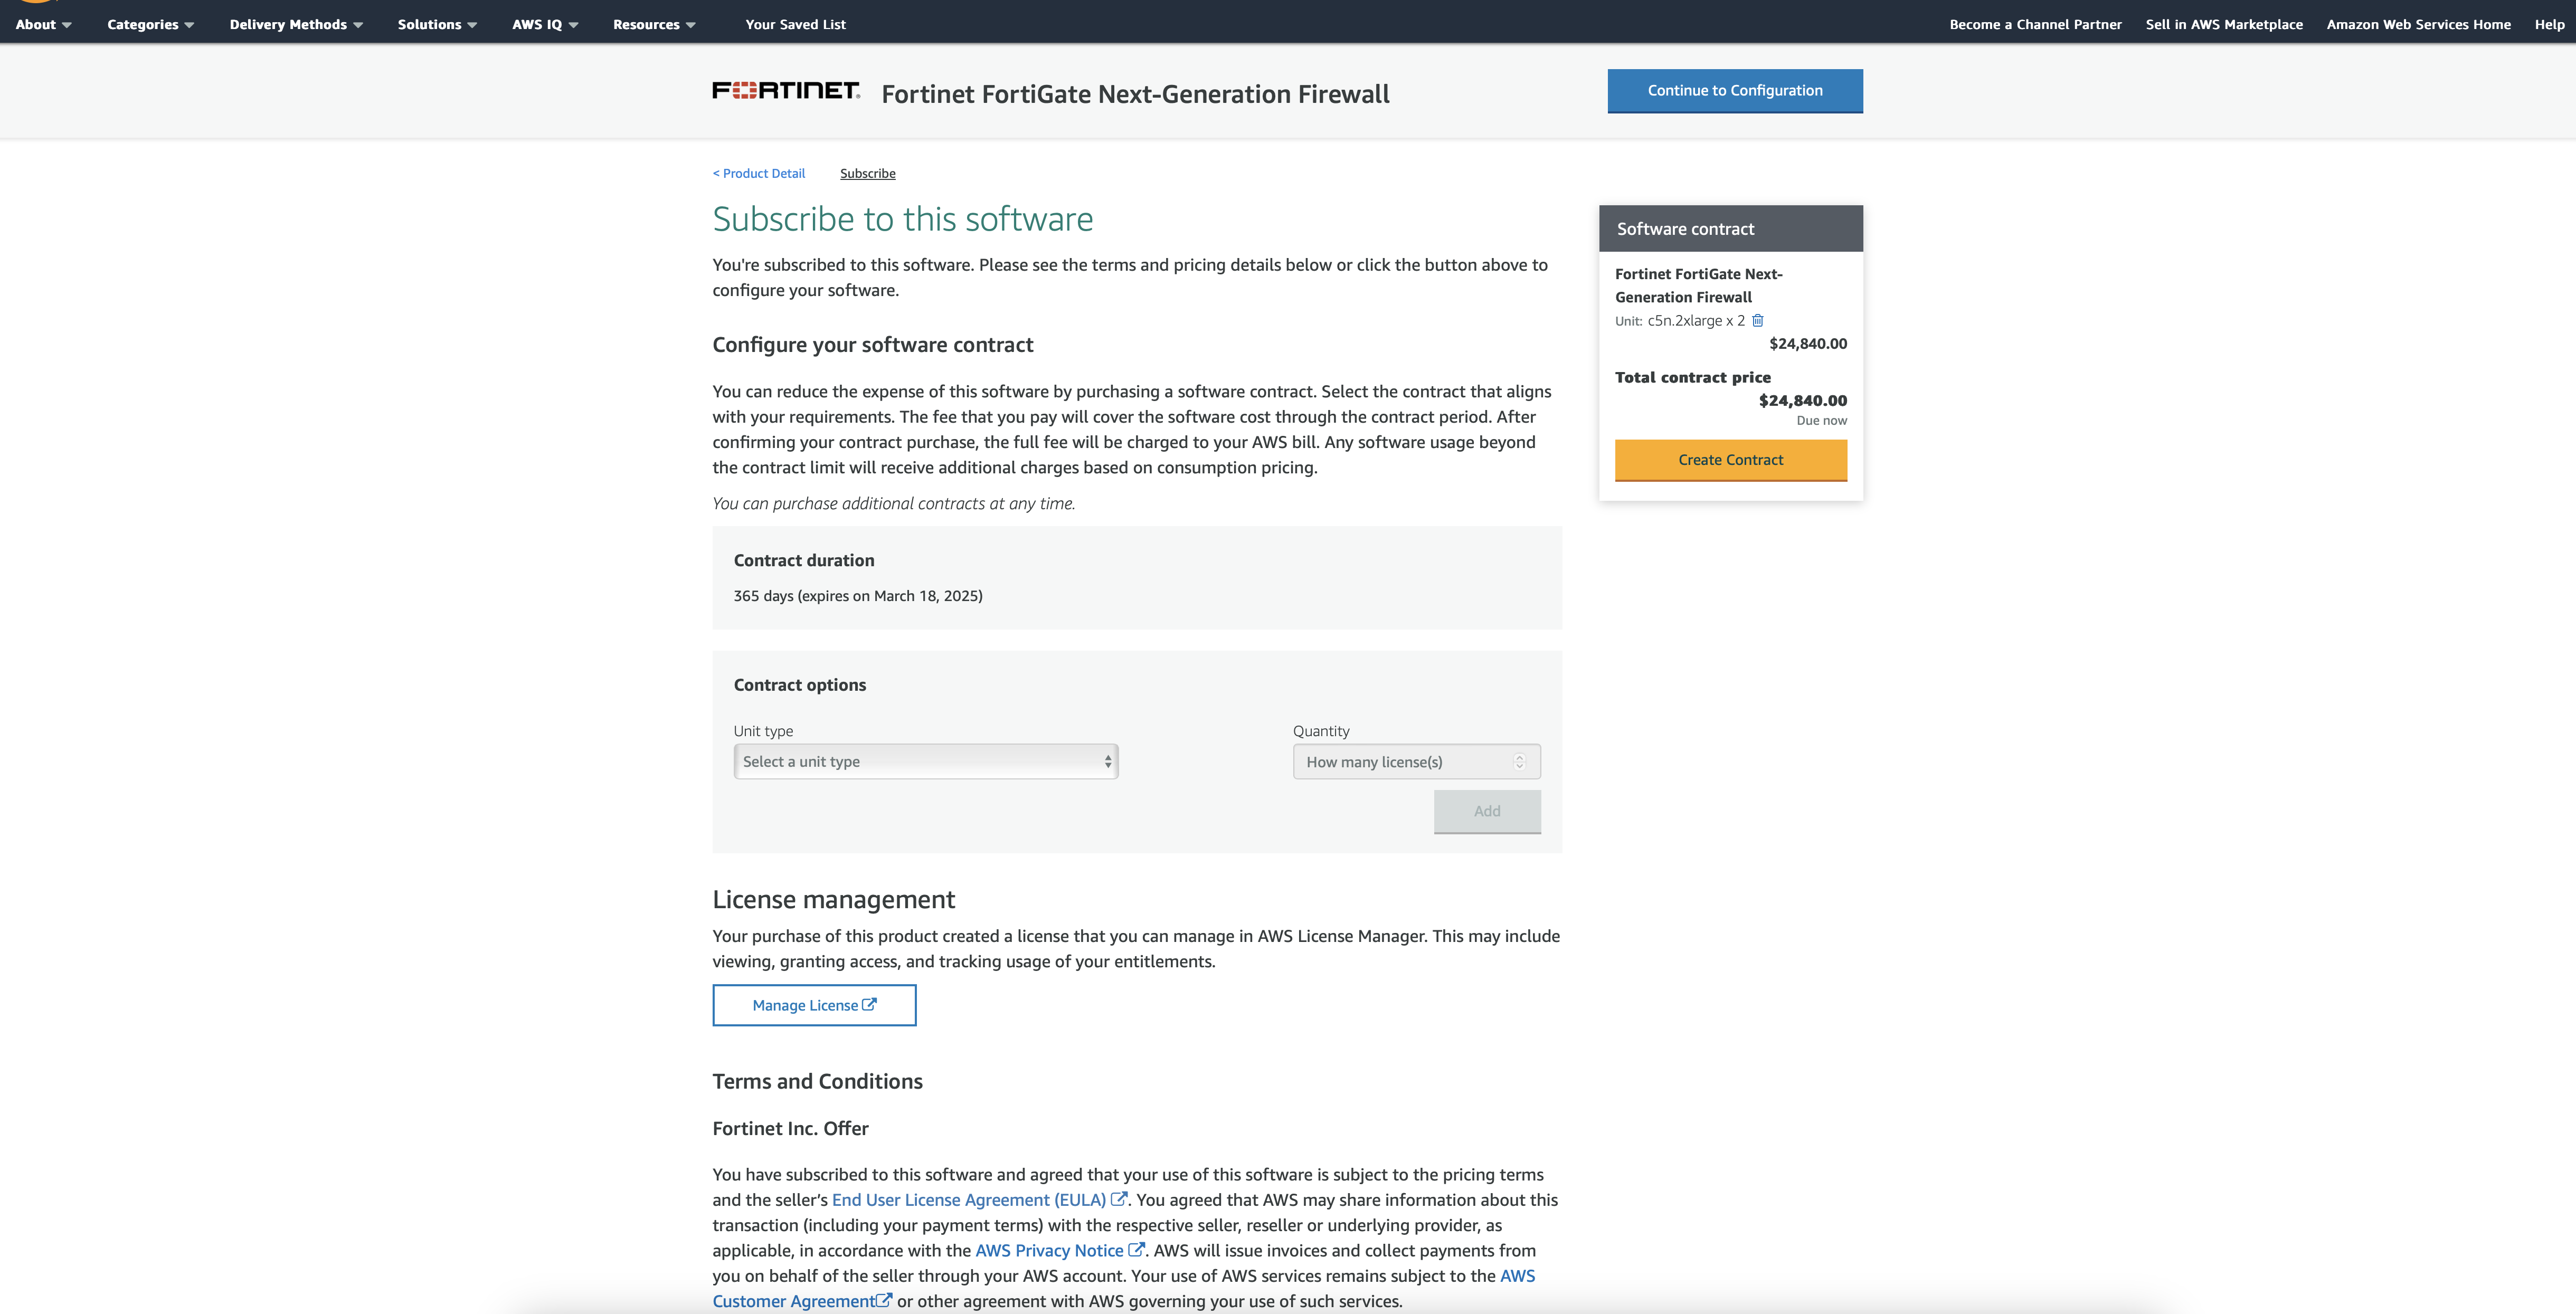
- Review Firewall options and pricing, then Click to Subscribe.
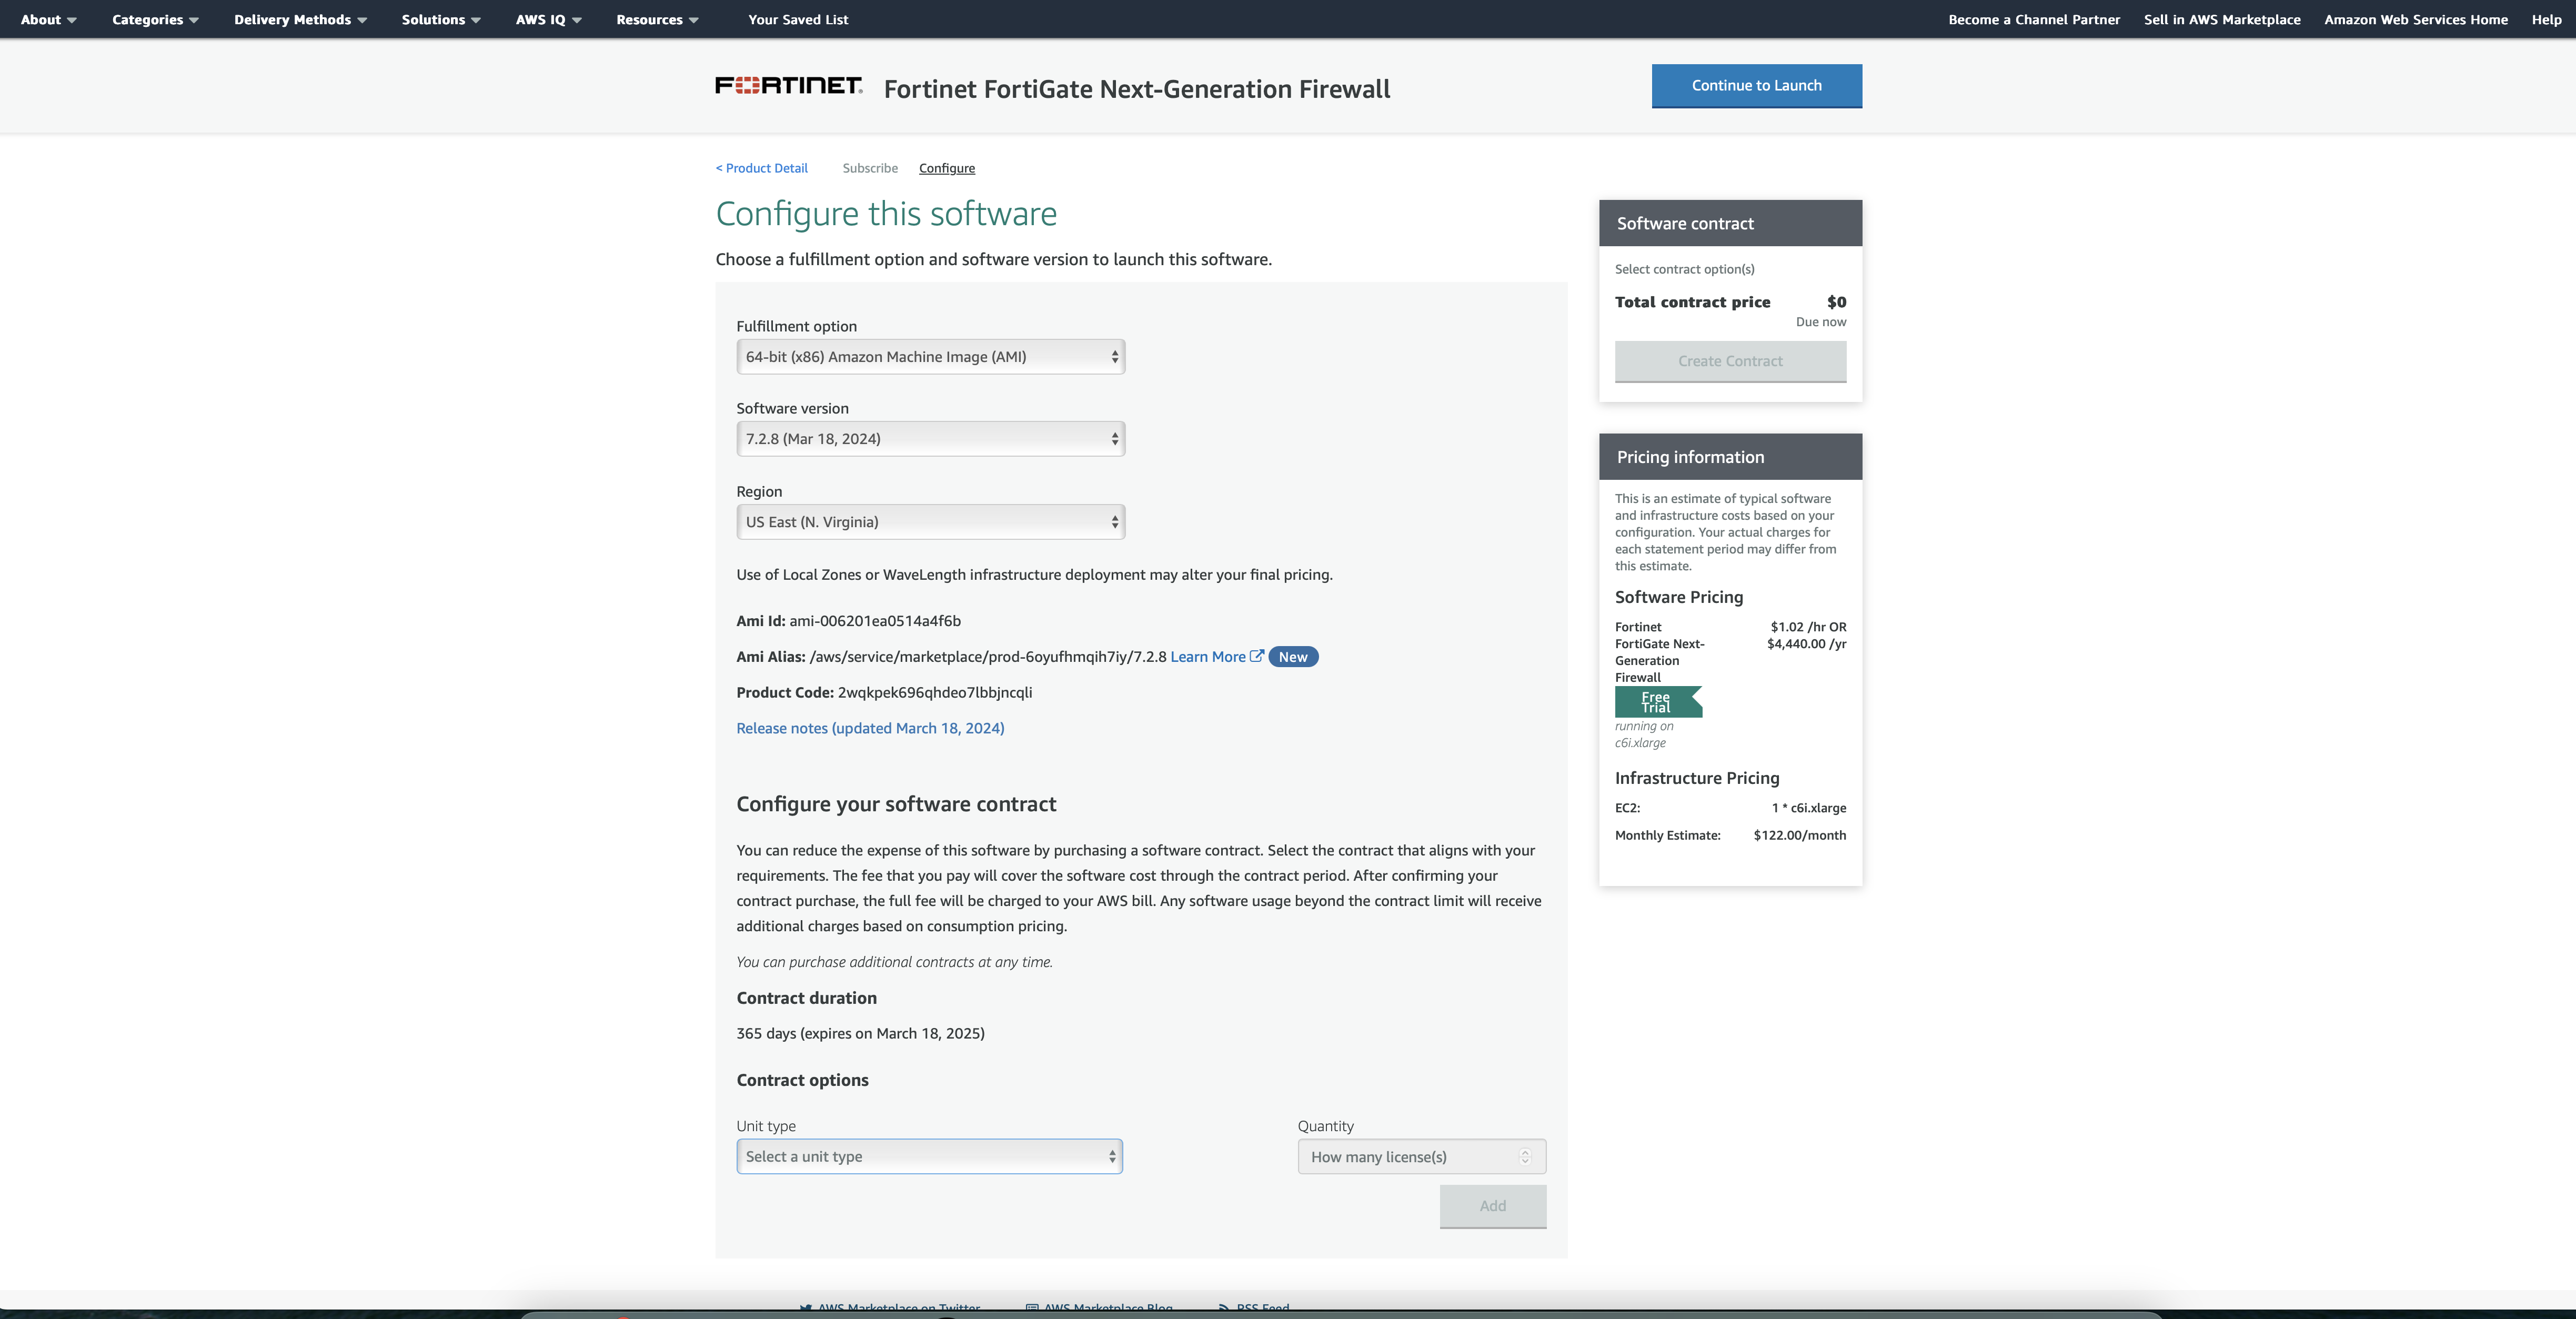
2. Once you have picked your instance type, Continue to Configuration.
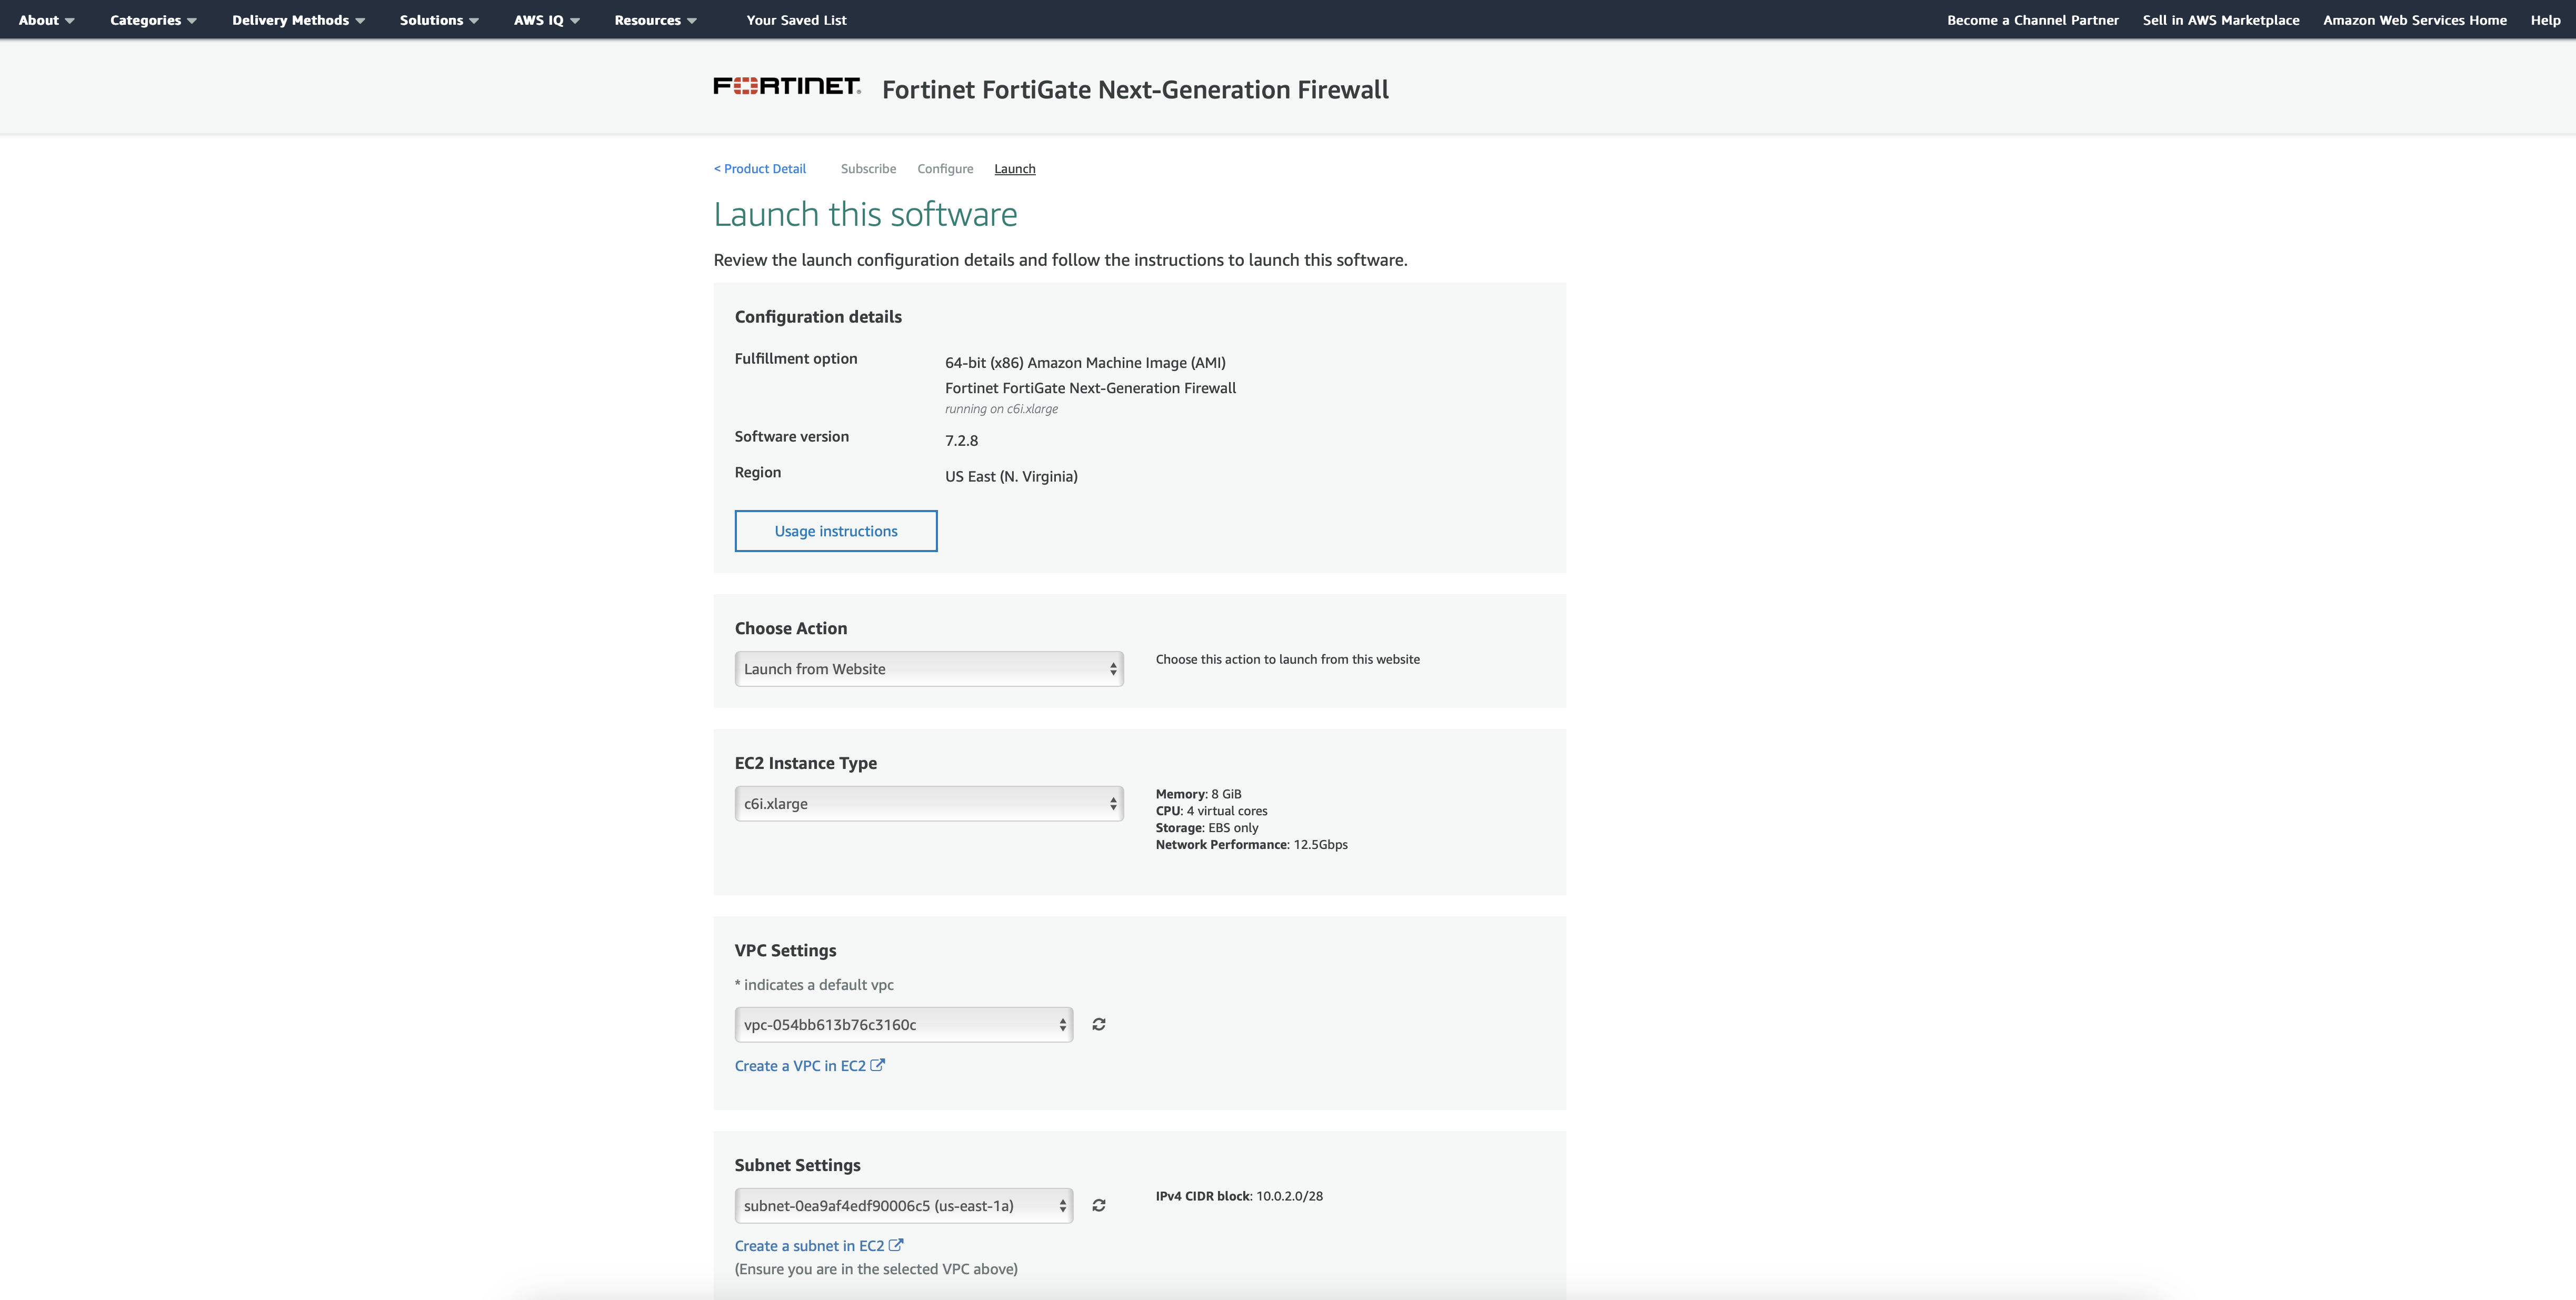
3. Review selection and Continue to Launch.
4. Launch the software from the website, or the EC2 dashboard – selected in the drop-down menu.
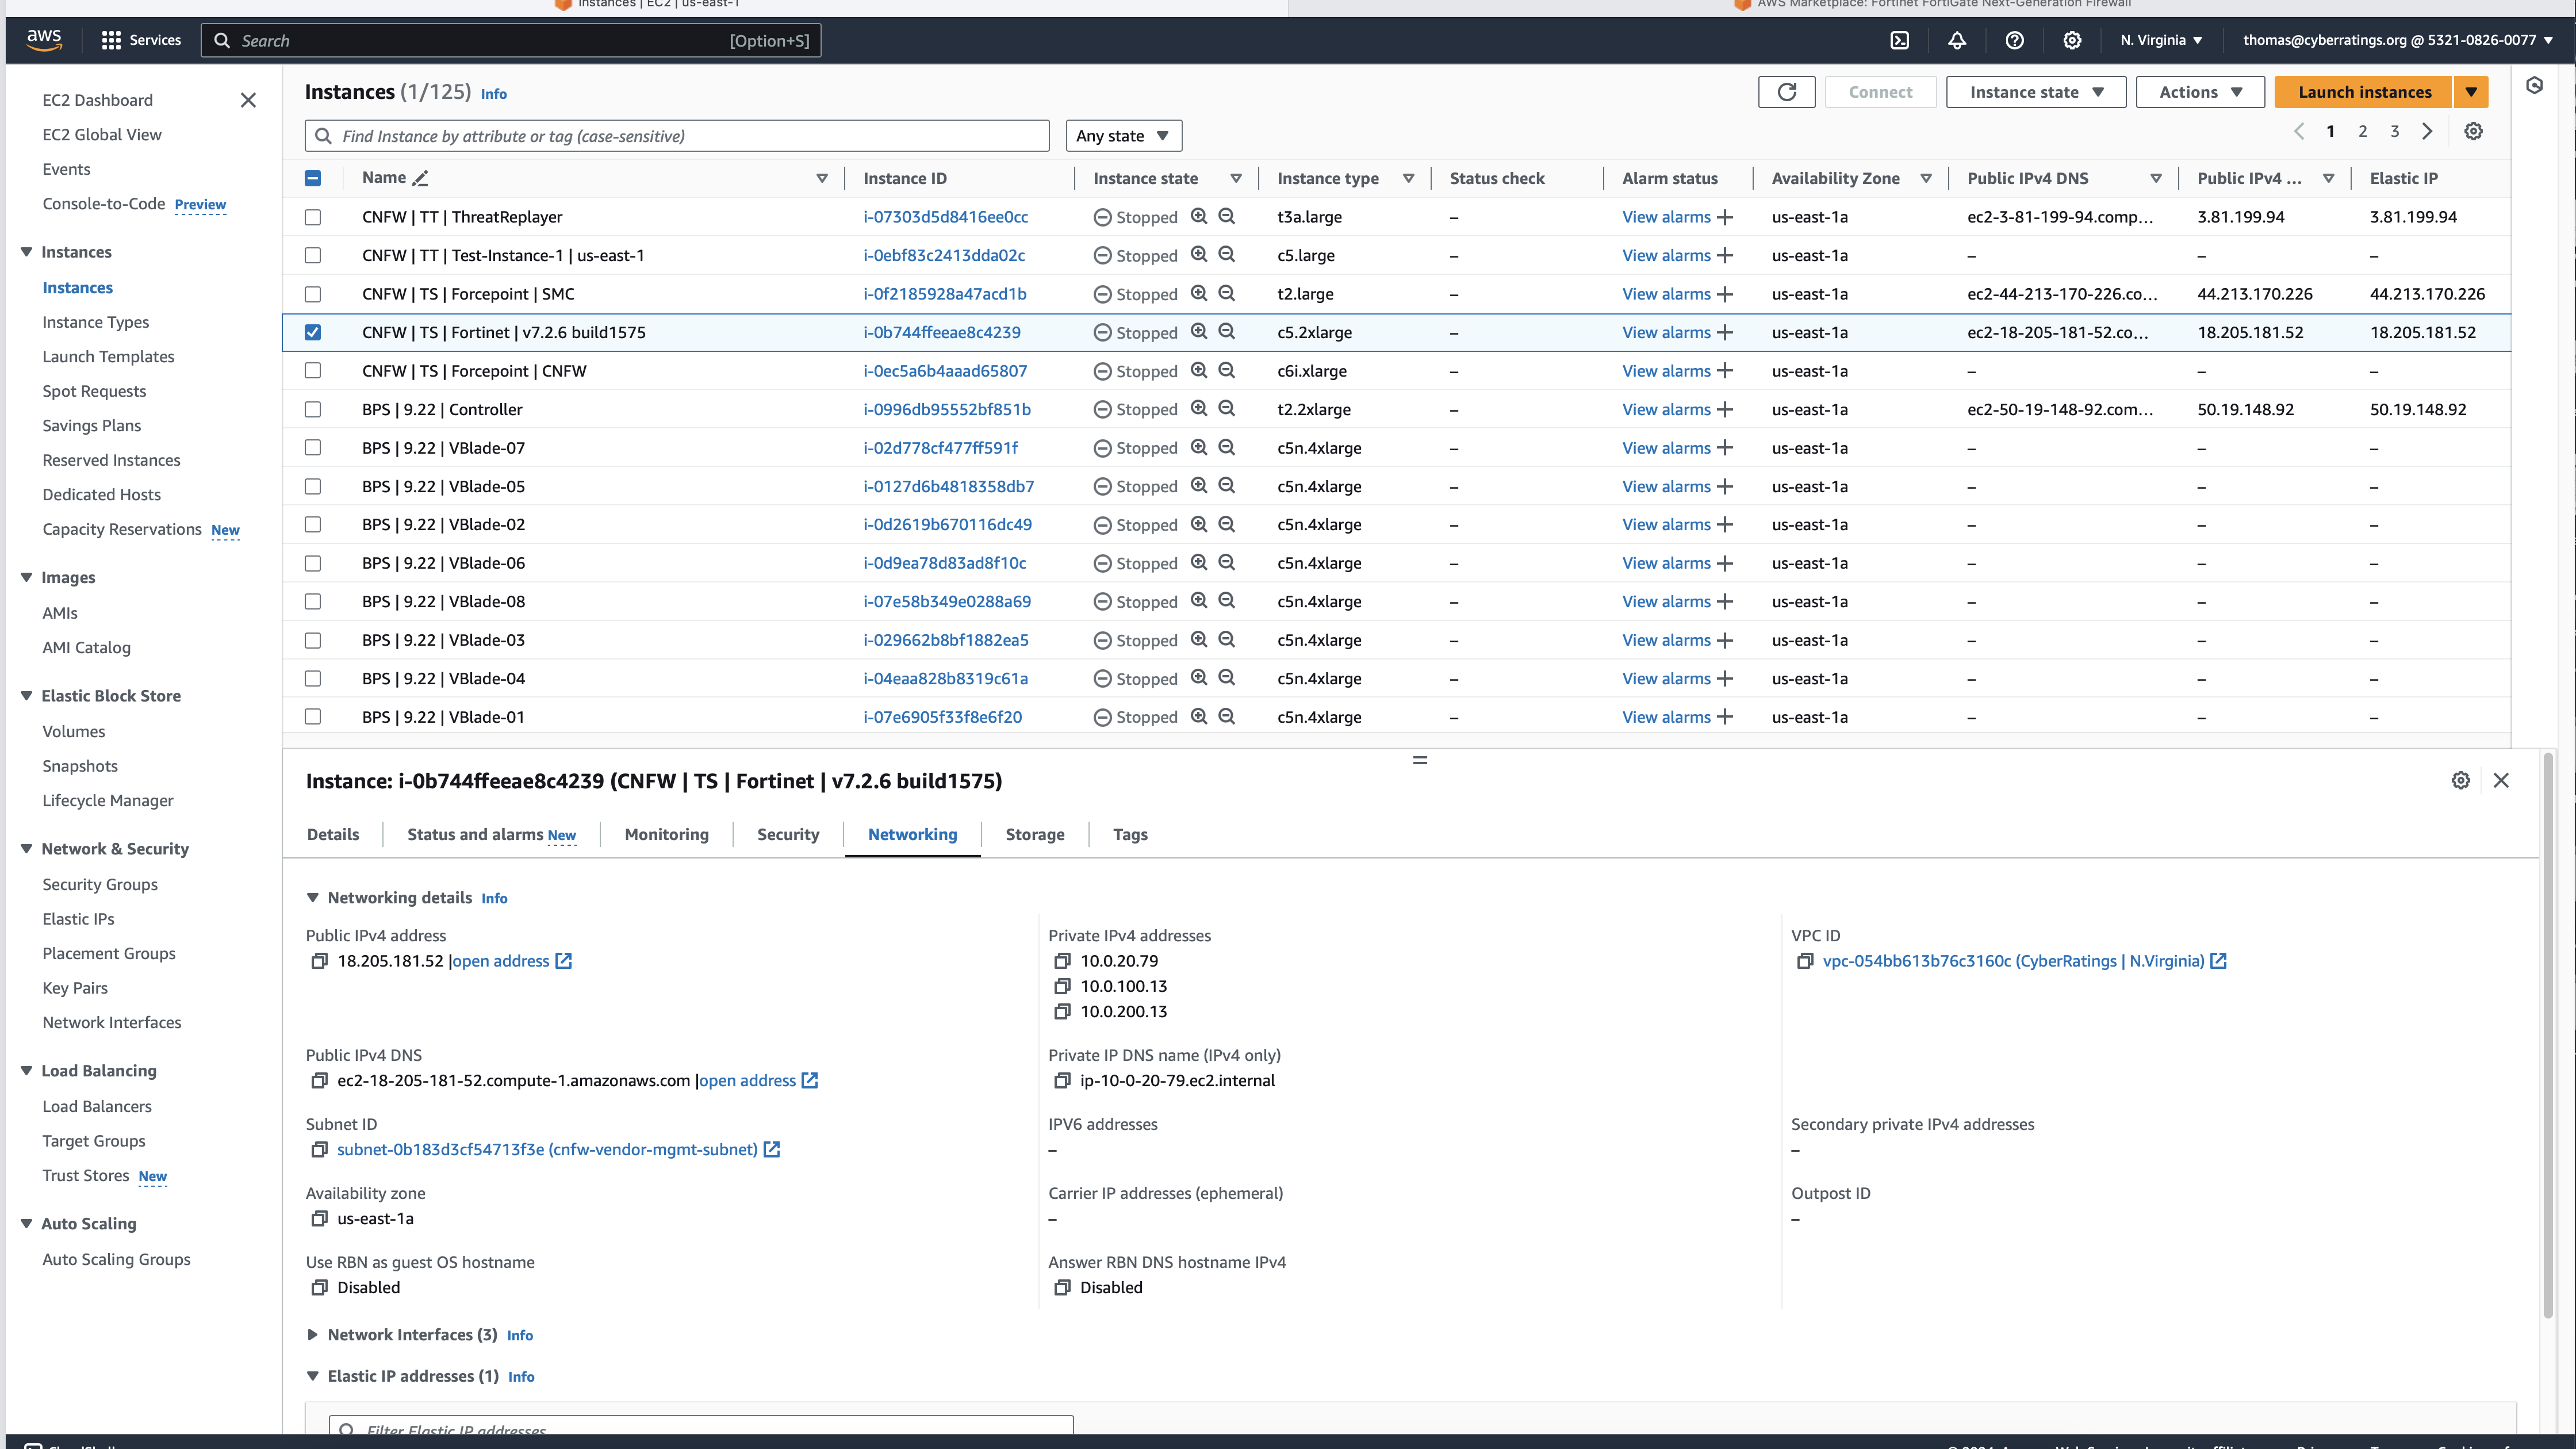
5. In the EC2 dashboard, define who has access to the firewall, launch Instance.
- Connect the interfaces required for the topology. This is information that is found in each vendor guide.
- Register the device to the centralized management system. This is information that is found in each vendor guide.
- Validation of license/s, which in turn enabled software updates, threat updates, etc. This is information that is found in each vendor guide.
- Define access policies:
- Trust to untrust
- Untrust to trust

- Define IPS policies:
- Enable threat signatures, advanced protection, cloud lookup, etc. Each product handles this differently, but this information is in their guides.
- Upload the required server certs, keys, and CA certs if needed. This is information that is found in each vendor guide.
- Define TLS decryption policies (1.2 and 1.3). Configure it to decrypt all traffic. We make a few exceptions to test whether the product can bypass decryption based on specific IP addresses or domain name(s). If something cannot be decrypted or is using an older TLS/SSL version and or an insecure cipher then the product is set to block.
- Link IPS and TLS policies to the overall access policy.
- Validate configuration:
- Make sure you can pass traffic.
- Make sure you can block attacks by sending something malicious.
- Tune out false positives.
Firewalls Included:
Amazon Web Services (AWS) Network Firewall
Cisco Secure Firewall Threat Defense Virtual
Palo Alto Networks VM-Series Next-Generation Firewall w/ Advanced Threat Prevention
Firewalls Configurations
For each firewall listed below, we have included:
- Link to the AWS page where the firewall can be selected and deployed
- Link to best practices and additional information
Amazon Web Services (AWS) Network Firewall
Product, best practices, and documentation: https://aws.amazon.com/network-firewall/
Following the best practices resulted in a deployment that was unable to stop any threats in our Cloud Network Firewall testing harness. After consulting AWS, we were instructed to make changes to the policy. The resulting deployment was successful in blocking 5.39%.
The configuration suggested by AWS:
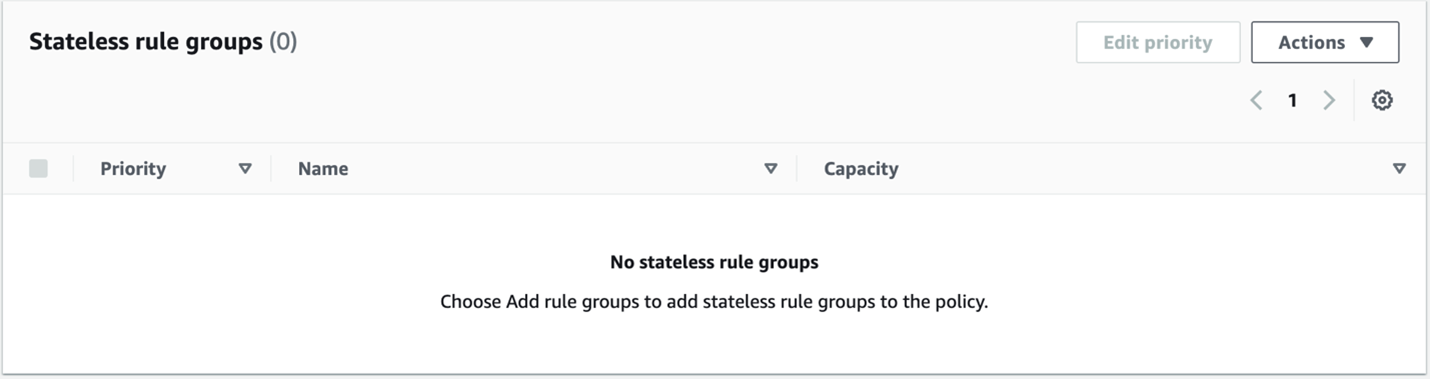
- No stateless rules
- No default stateful action
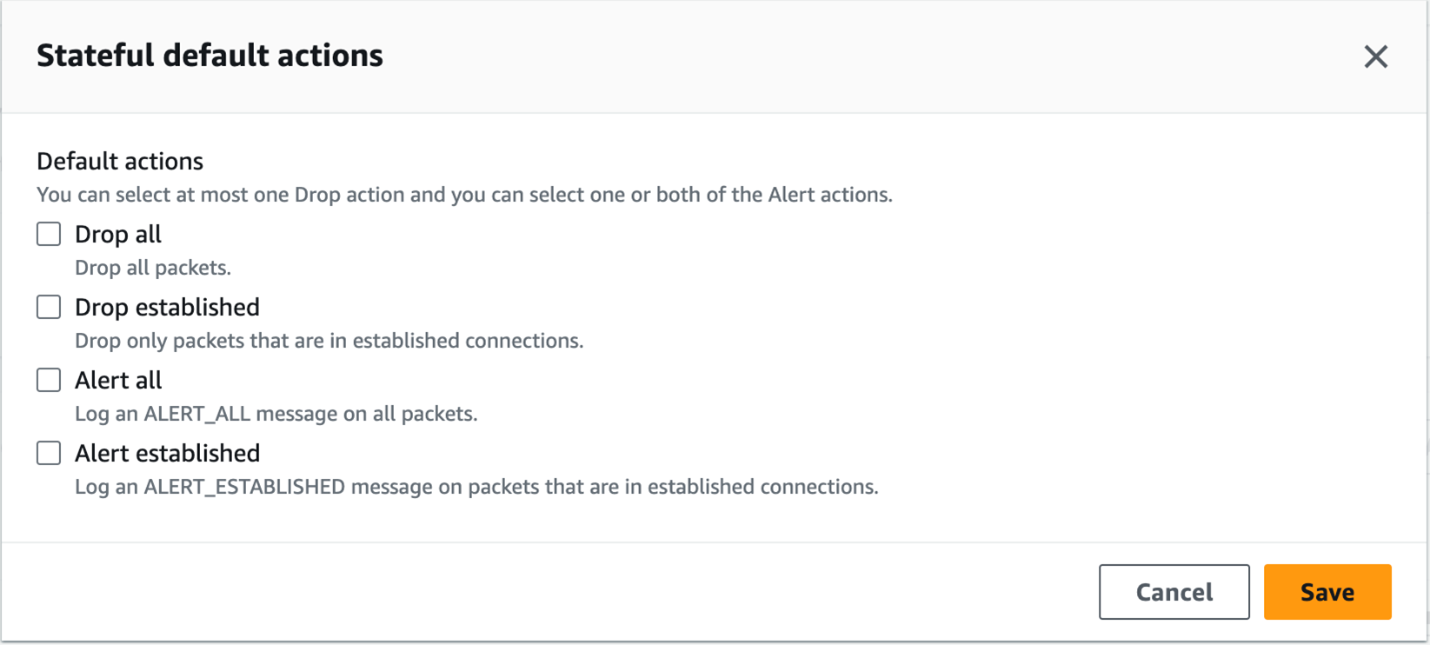
- Only Alert actions in the unmanaged signatures
This configuration should send all traffic through the inspection engine.
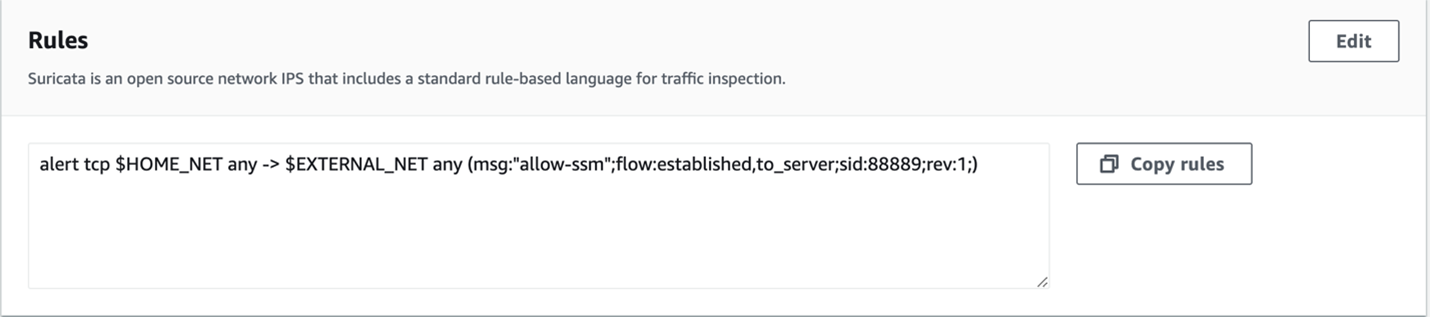
Our configuration that was tested before the conversation with AWS was slightly different. We had a rule for all stateless traffic to be forwarded to the stateful engine. Under the Stateful default actions, we had “Drop established,”“Alert all,” and “Alert established enabled. For rules we had the following:
alert tcp $HOME_NET any -> $EXTERNAL_NET any (msg:"allow-ssm";flow:established,to_server;sid:88889;rev:1;)
pass tcp $HOME_NET any -> $EXTERNAL_NET any (msg:"allow-ssm";flow:established,to_server;sid:8888;rev:1;)
pass tcp any any -> any any (msg:"allow-ssm";flow:established,to_server;sid:888888;rev:1;)
pass UDP any any -> any any (msg:"allow-udp";sid:88881;rev:1;)
pass ICMP any any -> any any (msg:"allowing-ourbuddyping";sid:88882;rev:1;)
Both configurations resulted in the same security block rate of 5.39%.
Barracuda CloudGen Firewall
Follow their instructions; the product doesn’t require any special configuration.
Product page: https://aws.amazon.com/marketplace/pp/prodview-nf2s254wcmqfw
Documentation: https://campus.barracuda.com/product/cloudgenfirewall/doc/98209931/overview
Check Point CloudGuard
Follow their instructions; the product doesn’t require any special configuration.
Product page: https://aws.amazon.com/marketplace/pp/prodview-3xp7nph2367yc
Documentation: https://support.checkpoint.com
Cisco Secure Firewall Threat Defense Virtual
Follow their instructions; the product requires special configuration. See below.
We followed the best practices for deploying Cisco Secure Firewall Threat Defense Virtual including updating the software from 7.2.0 to 7.2.5-208 and then to 7.3.0-69.
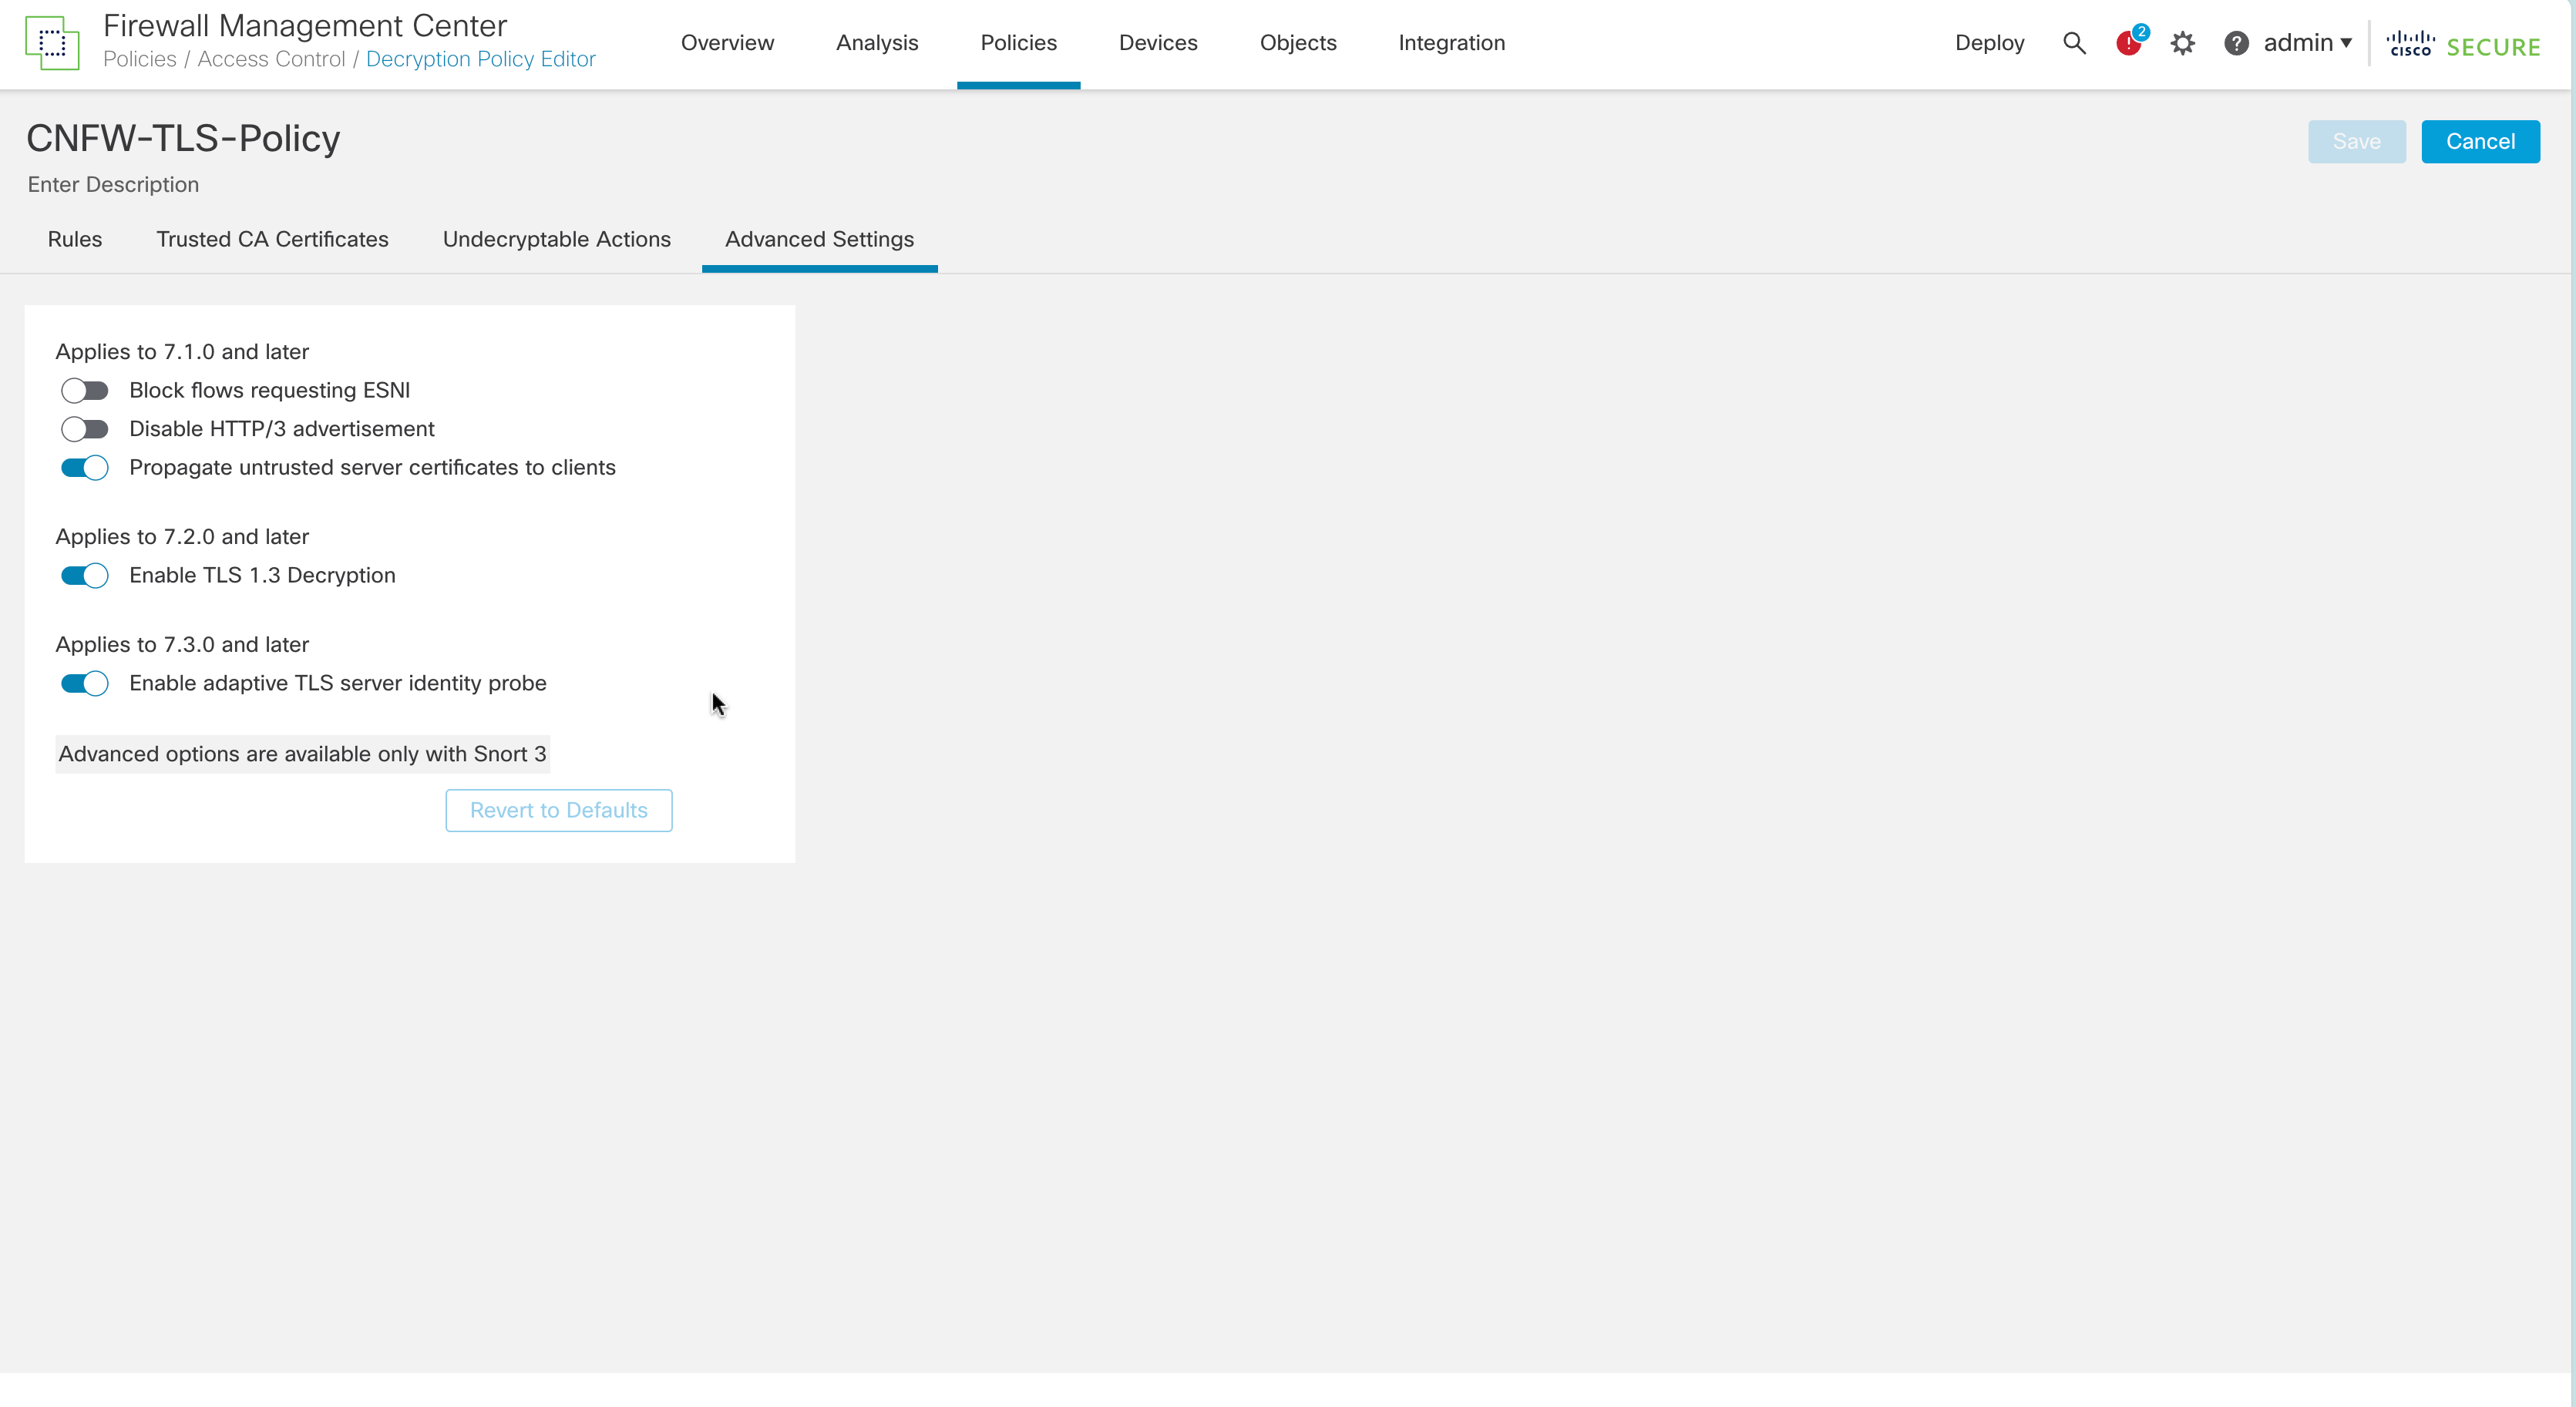
We also registered the Cisco Secure Firewall Threat Defense into the Cisco Secure Firewall Management Center (FMC). We enabled TLS 1.2 and 1.3 following Cisco’s instructions. This included updating from Snort v2 to Snort v3, which is required to enable TLS 1.3—as per Cisco: “You must be using Snort 3 to match TLS 1.3 connections.” See https://www.cisco.com/c/en/us/td/docs/security/firepower/730/fdm/fptd-fdm-config-guide-730/fptd-fdm-ssl-decryption.html for more details.
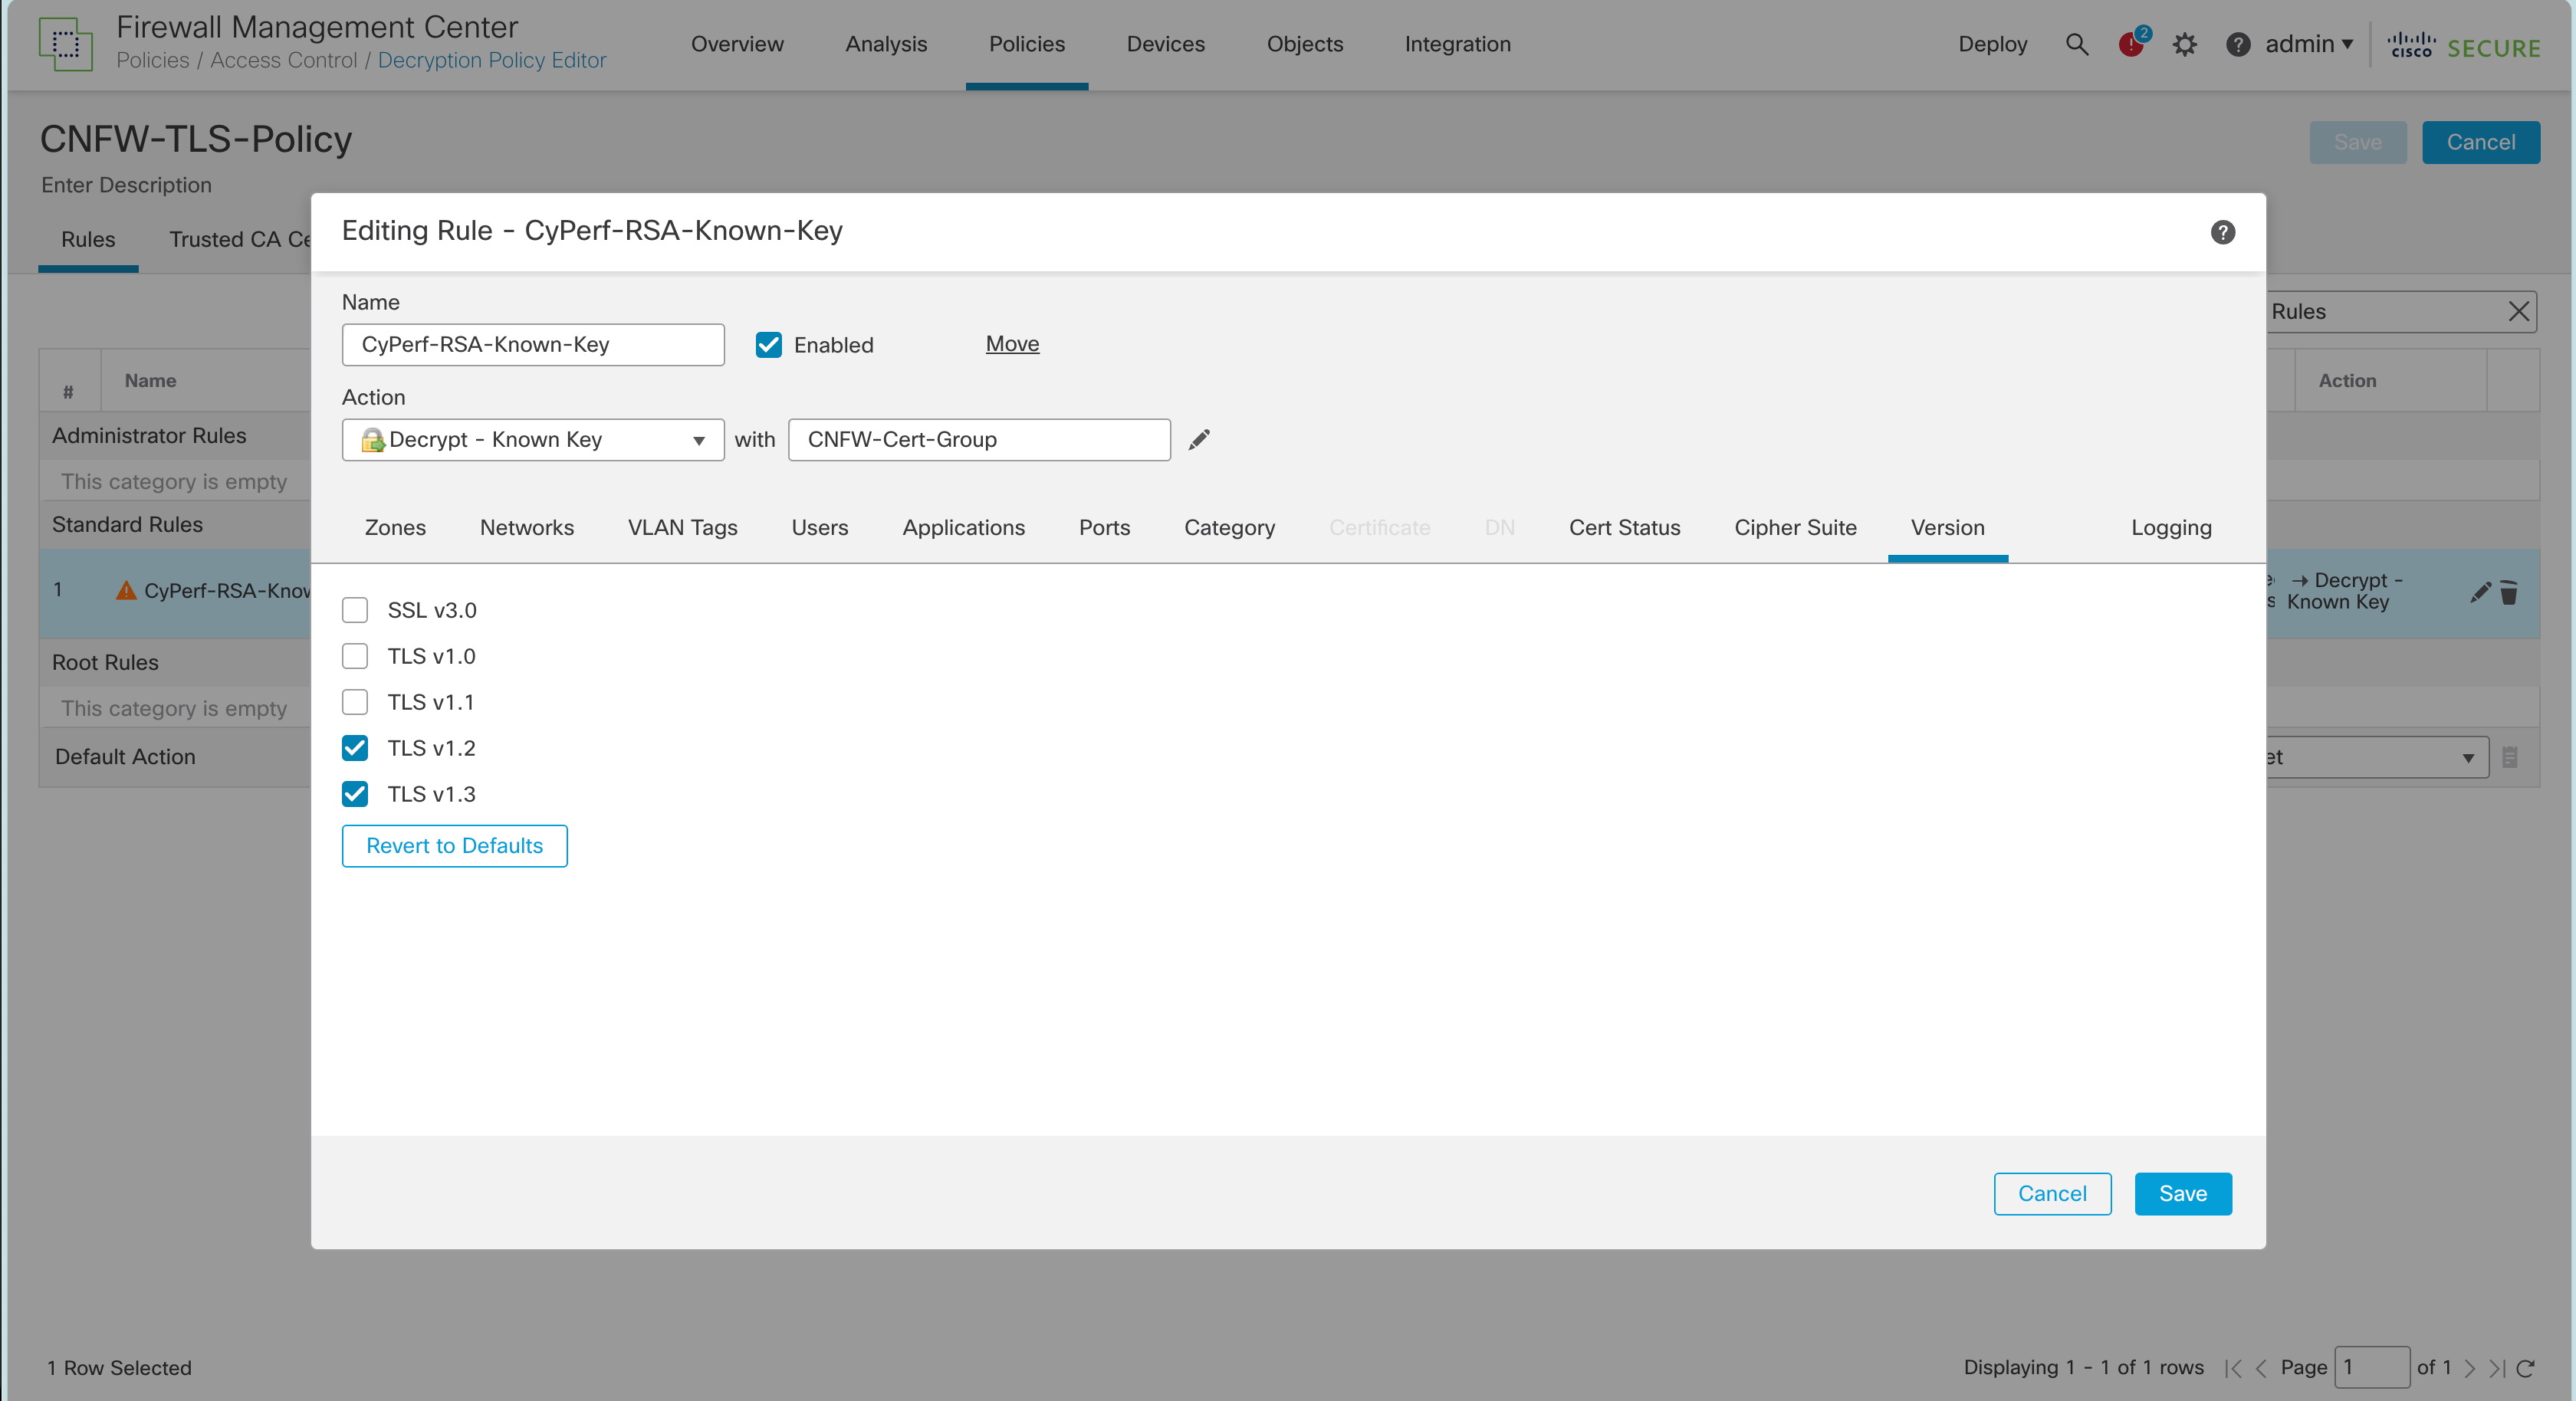
After deploying the firewall following their best practices, we were able to verify that TLS 1.2 was decrypting properly, as seen in this screenshot:
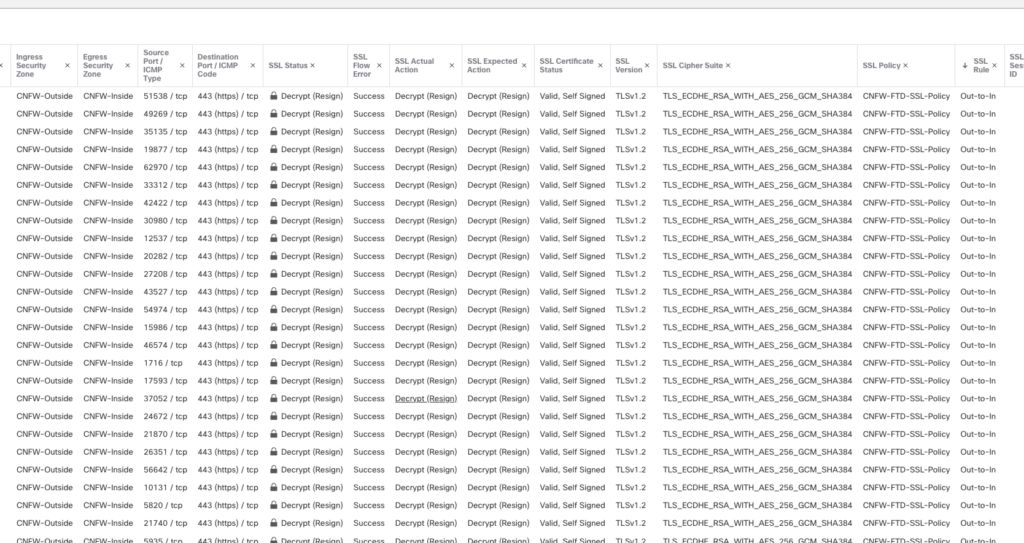
Even though we followed the instructions provided by Cisco to enable TLS 1.3, the Cisco Firewall failed to decrypt TLS 1.3 and the logs issued an “SSL_Version_Not_Supported” error, as seen in this screenshot:
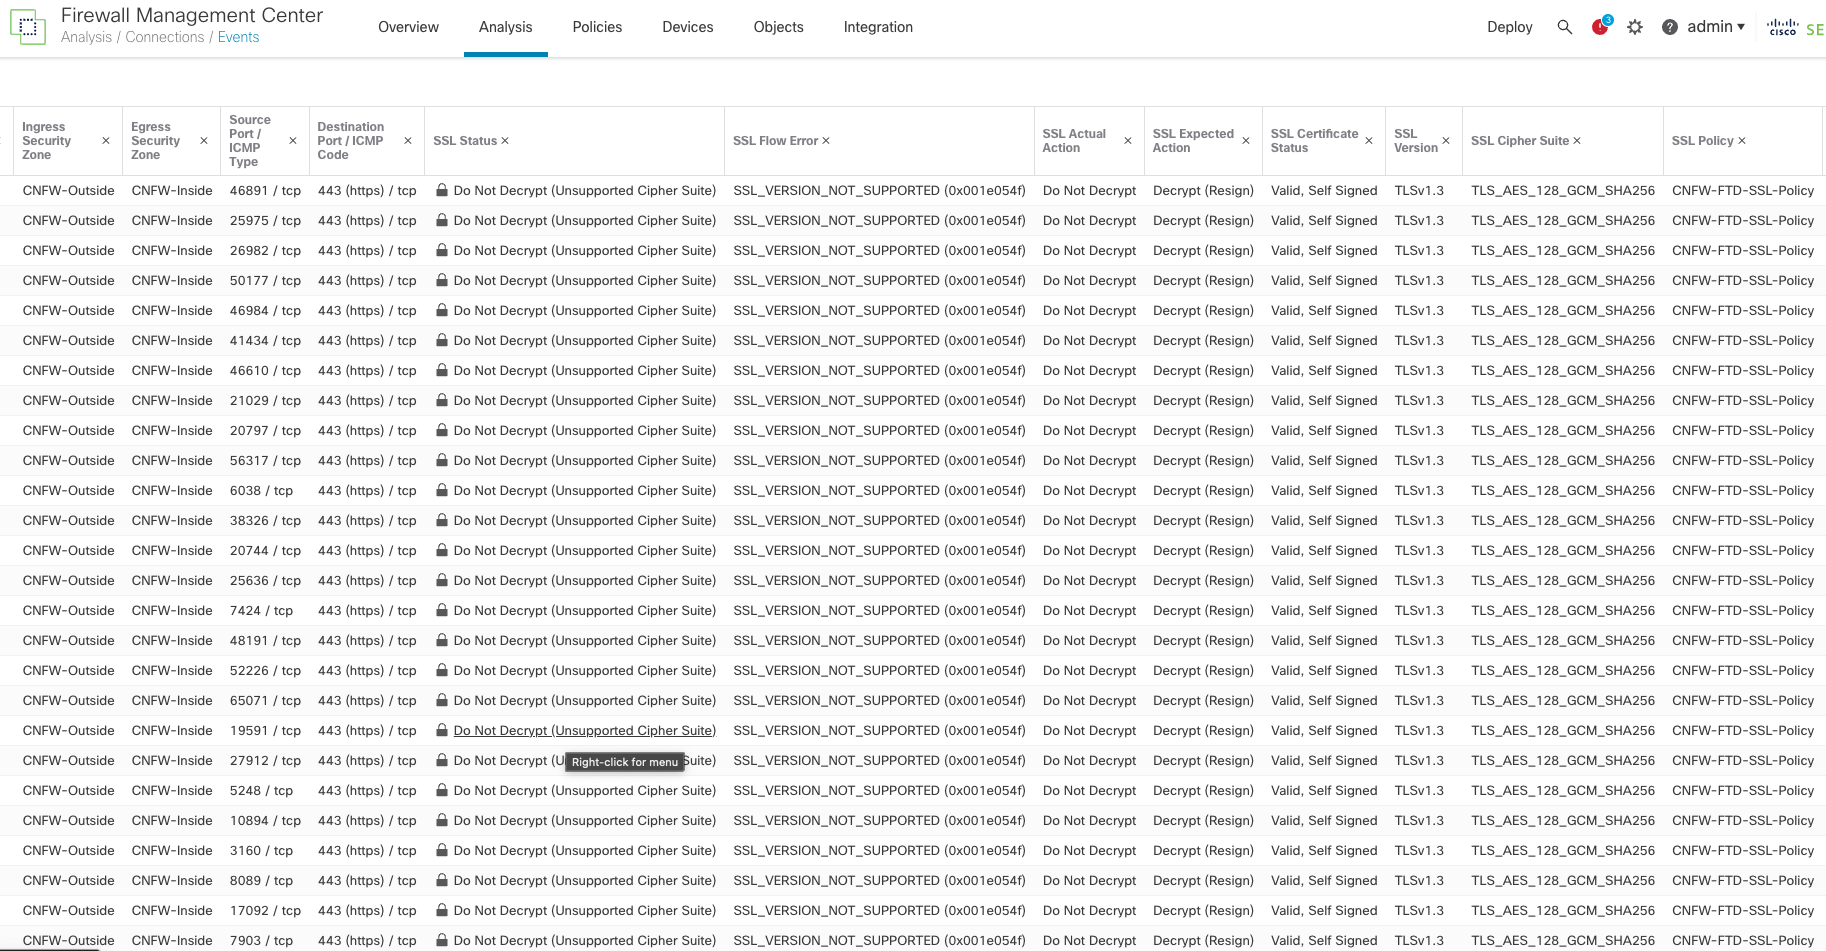
Unless you look at the logs, the user interface does not indicate that TLS 1.3 is not being appropriately As shown in the above screenshots. you can check a box that is supposed to turn on TLS 1.3 support, but it does not turn it on. Moreover, while Cisco says TLS 1.3 is on, and when TLS 1.3 traffic is sent across the Cisco cloud firewall, the logs clearly state that the TLS/Cipher suites are not supported and do not decrypt the data. In addition, Cisco does not support the CHACHA20 cipher suites despite claiming otherwise.
Forcepoint NGFW
Follow their instructions; the product doesn’t require any special configuration.
Product page: https://aws.amazon.com/marketplace/pp/prodview-svzncd5l73lu2
Documentation: https://help.forcepoint.com/ngfw/en-us/7.0.4/index.html
Fortinet FortiGate-VM
Follow their instructions; the product doesn’t require any special configuration.
Product page: https://aws.amazon.com/marketplace/pp/prodview-wory773oau6wq
Documentation: https://docs.fortinet.com/document/fortigate/7.2.6/administration-guide/954635/getting-started
Juniper Networks vSRX
Follow their instructions; the product doesn’t require any special configuration.
Product page: https://aws.amazon.com/marketplace/pp/prodview-z7jcugjx442hw
Documentation: https://www.juniper.net/documentation/us/en/software/vsrx/vsrx-consolidated-deployment-guide/vsrx-consolidated-deployment-guide.pdf
Palo Alto Networks VM-Series Next-Generation Firewall w/ Advanced Threat Prevention
Follow their instructions; the product requires special configuration. See below.
Evasion defenses are not enabled by default. Please follow the instructions below. These are a combination of their best practices guide as well as additional instructions per the Palo Alto Engineers we worked with.
Product page: https://aws.amazon.com/marketplace/pp/prodview-mn63yjbq37n4c
Documentation: https://docs.paloaltonetworks.com/best-practices/security-policy-best-practices/security-policy-best-practices
Next, you will have to follow the detailed instructions as documented by Palo Alto Networks: https://docs.paloaltonetworks.com/pan-os/9-1/pan-os-admin/threat-prevention/best-practices-for-securing-your-network-from-layer-4-and-layer-7-evasions
After following those instructions, then issue the following commands in the command line interface (CLI).
To do this:
- Enable SSH on the device.
- Log in to the device with your admin credentials.
- Run the following commands:
Set system setting ctd block-on-base64-decode-error enable
set system setting ctd block-on-bdat-chunk-decode-error enable
set system setting ctd block-on-chunk-decode-error enable
set system setting ctd block-on-qp-decode-error enable
set system setting ctd block-on-utf-decode-error enable
set system setting ctd block-on-uu-decode-error enable
set system setting ctd block-on-zip-decode-error enable
set deviceconfig setting session resource-limit-behavior bypass
request plugins vm_series set-cores dp-cores 3
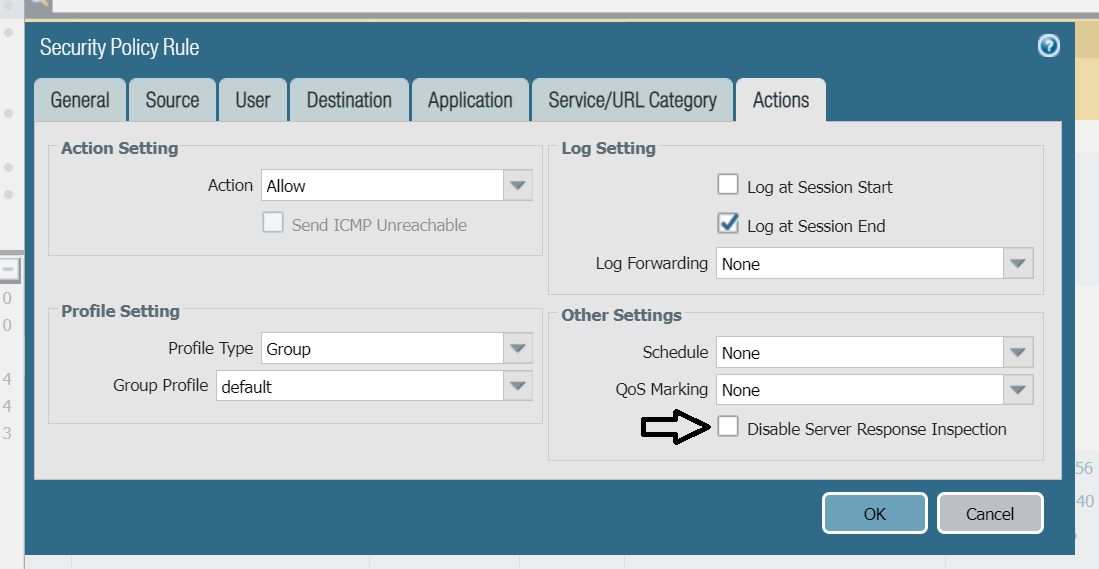
While the below configuration change will not improve your evasion protection, it may improve your performance. If you are worried about client-side attacks, do not make this change!
Disable Server Response Inspection (DSRI) – see screenshot below.
To Enable or disable DSRI:
- Go to Policies>Security>untrust-to-trust>Action.
- Check the “Other Settings “section for the DSRI option.
- Select the checkbox to enable.
- Unselect the checkbox to disable.
We have been informed that an upcoming version of the Palo Alto OS will enable these evasions by default.
Sophos Firewall
Follow their instructions; the product doesn’t require any special configuration.
Product page: https://aws.amazon.com/marketplace/pp/prodview-ga4qvij427bvw
Documentation: https://docs.sophos.com/nsg/sophos-firewall/20.0/help/en-us/webhelp/onlinehelp/index.html
Versa Networks NGFW
Follow their instructions; the product doesn’t require any special configuration.
Unlike the other products in this guide, Versa only offers a bring-your-own license (BOYL). This means products can be deployed using Versa Director (their central management system) or through EC2 on AWS.
Product page: https://aws.amazon.com/marketplace/pp/prodview-egtkta2usoxfa
Documentation: https://academy.versa-networks.com/versa-academy-library/
Documentation: https://docs.versa-networks.com
WatchGuard Firebox Cloud
Follow their instructions; the product doesn’t require any special configuration.
Product page: https://aws.amazon.com/marketplace/pp/prodview-5qg2dngtf3fgu
Documentation: https://www.watchguard.com/help/docs/help-center/en-US/Content/en-US/_intro/home.html